COMPOSITE FILLINGS

At Discover Dental, we have the skills and experience to create long lasting, aesthetic composite restorations. All the photos below are of teeth we have restored in our practice.
What are composite fillings?
Composite is a fantastic, tooth coloured material for repairing teeth. The White Filling Options page outlines the principle behind the technique as well as information on the advantages, challenges and longevity.
Repairing a decayed tooth with composite filling
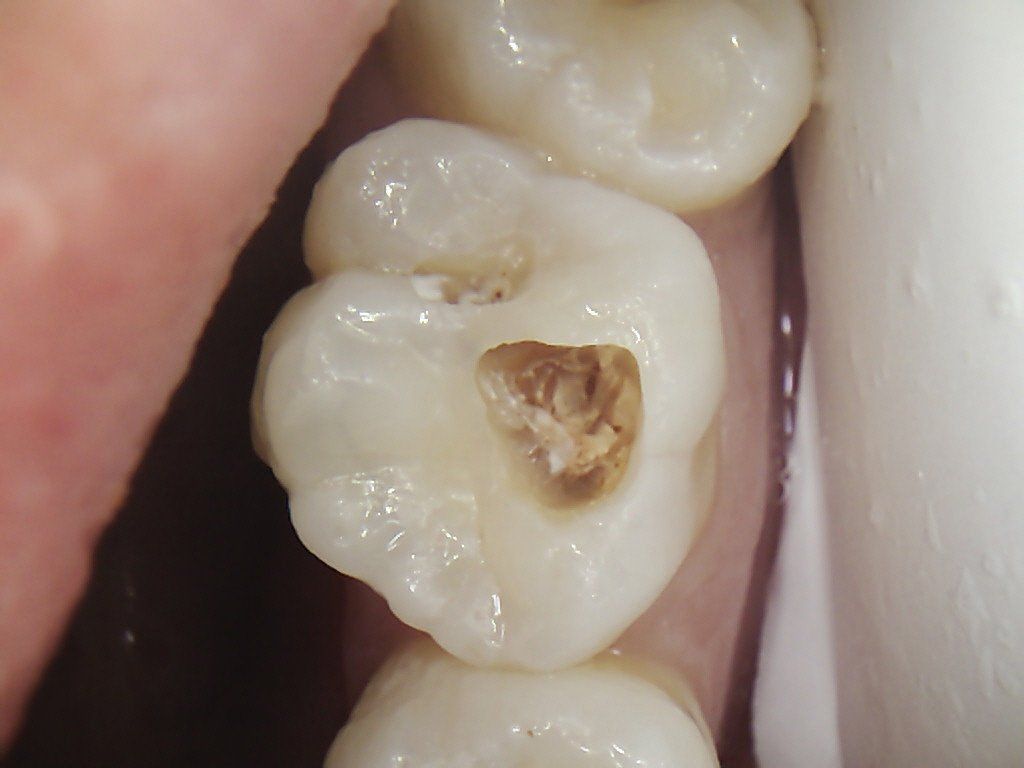
1. Here the decay can be seen as brown spots in the tooth. The DIAGNODdent laser readings were 99, the highest on the scale

2. The tooth is opened up to reveal the soft, brown sawdust like decay inside.
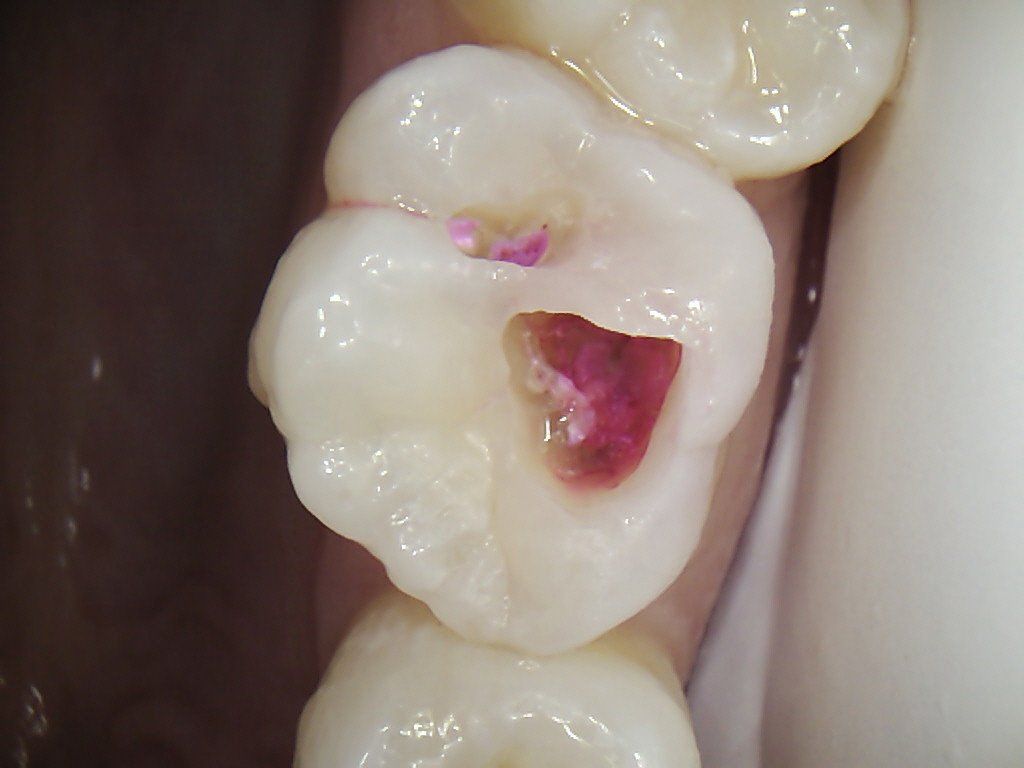
3. The tooth is stained with
caries dye, a pink coloured liquid that stains the decay in teeth. This allows us to clearly see the unsound tooth and keeps the cavity preparation to a minimum.
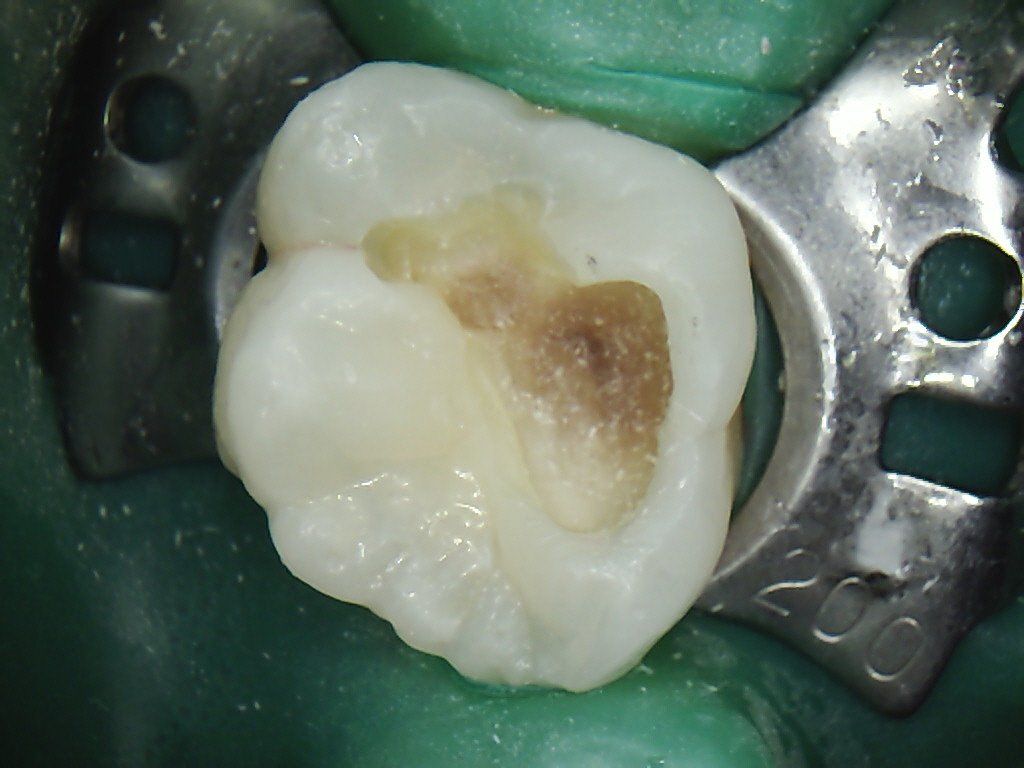
4. The decay extends under the enamel bridge between the two holes, so both are joined as one.

5. The final cavity preparation with all the pink stained decay removed.
6. The first layers of tooth coloured composite resin are bonded into the tooth.

7. The final layers are bonded into the tooth.
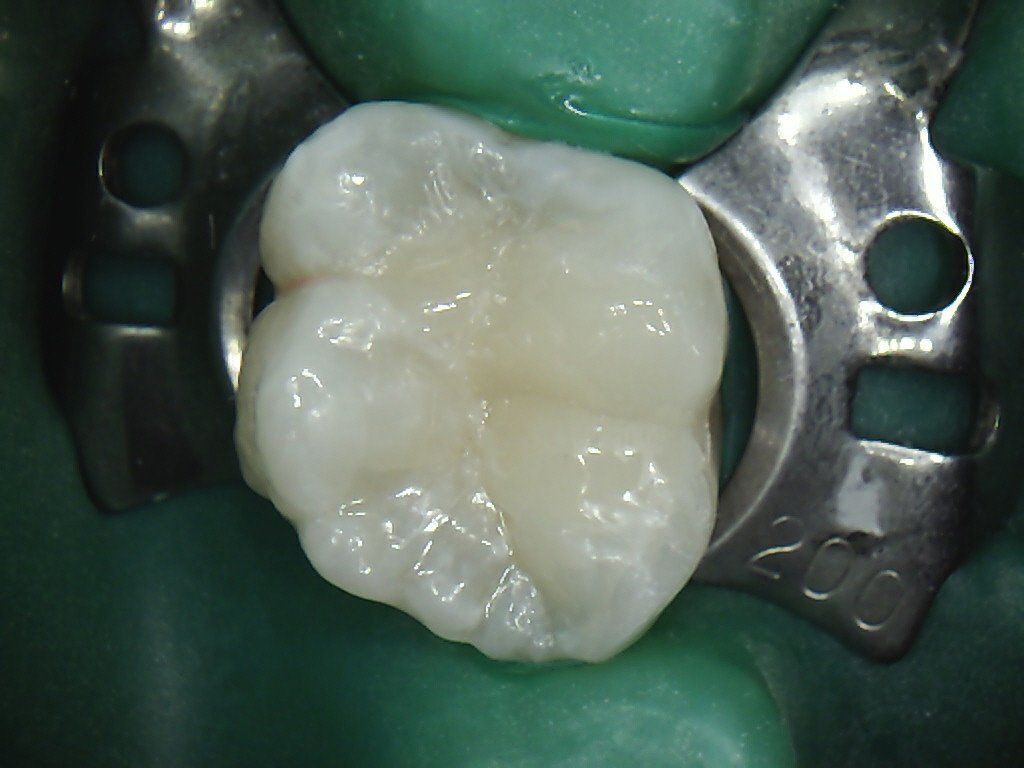
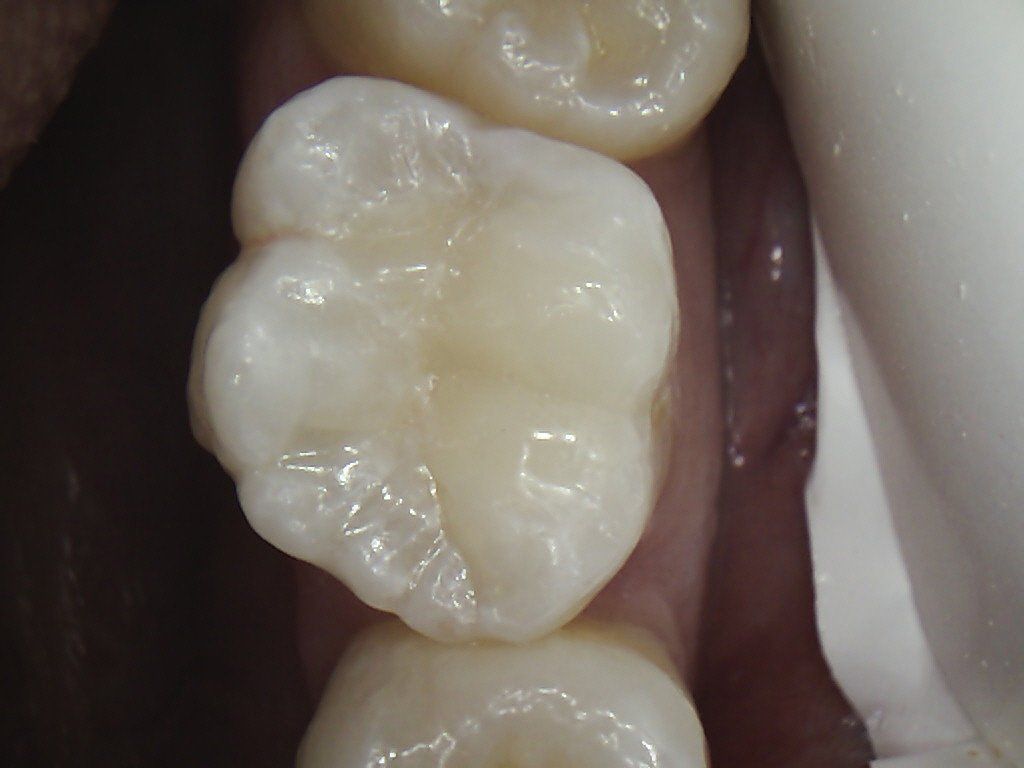
8. The completed ‘invisible’ restoration.
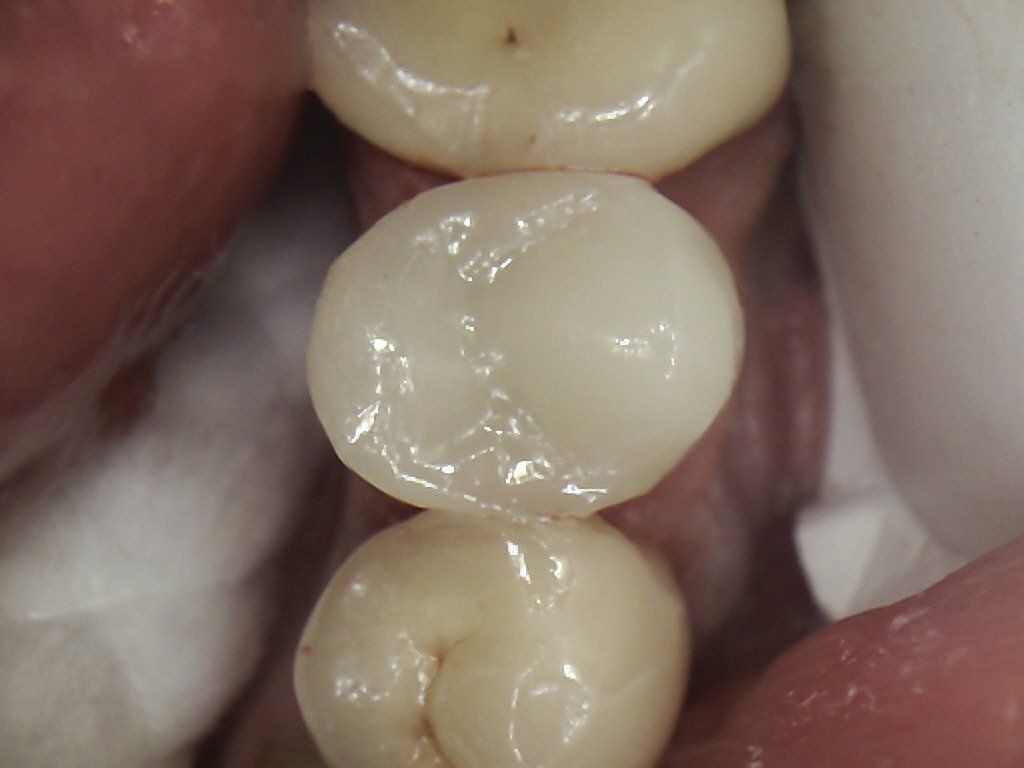
Repairing a fractured tooth with composite
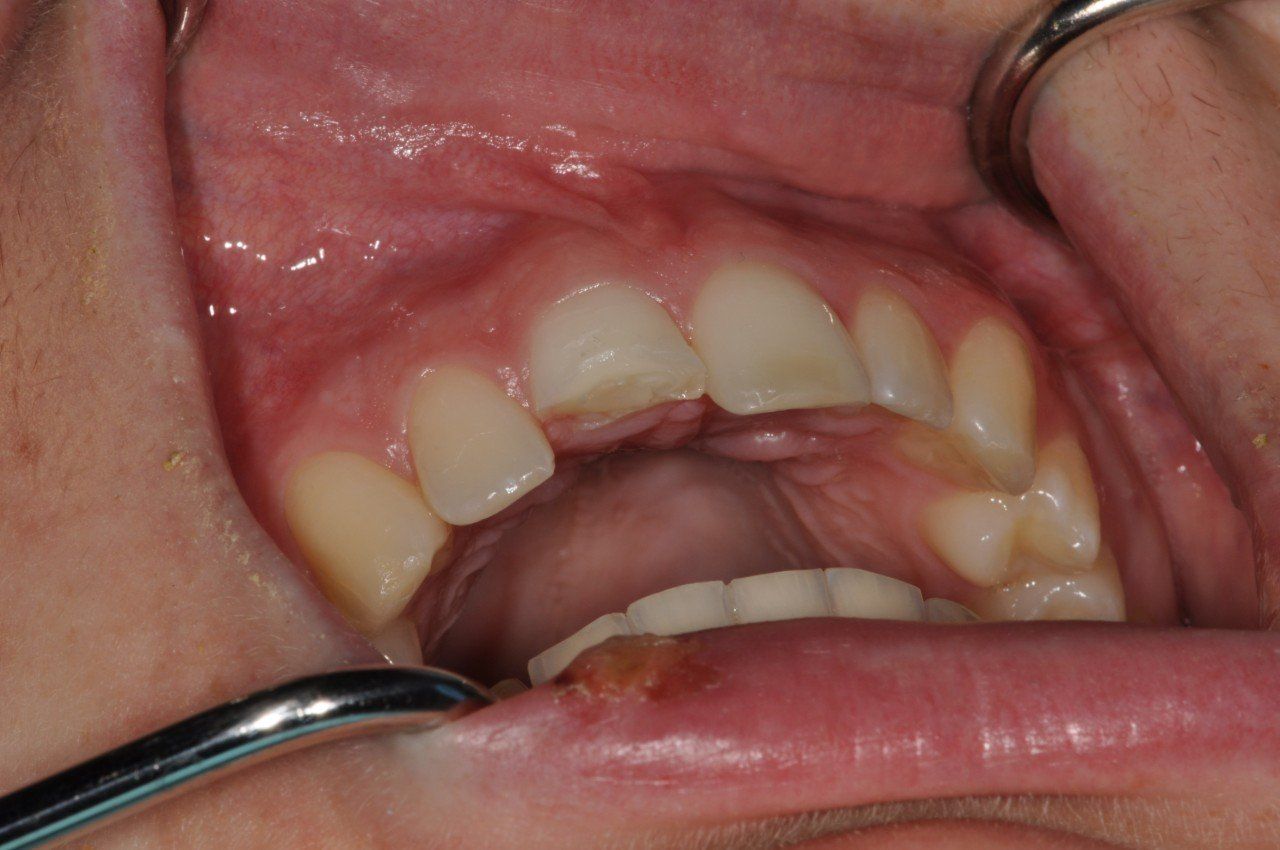
1. This young patient fractured half the crown off his tooth in a playground accident.
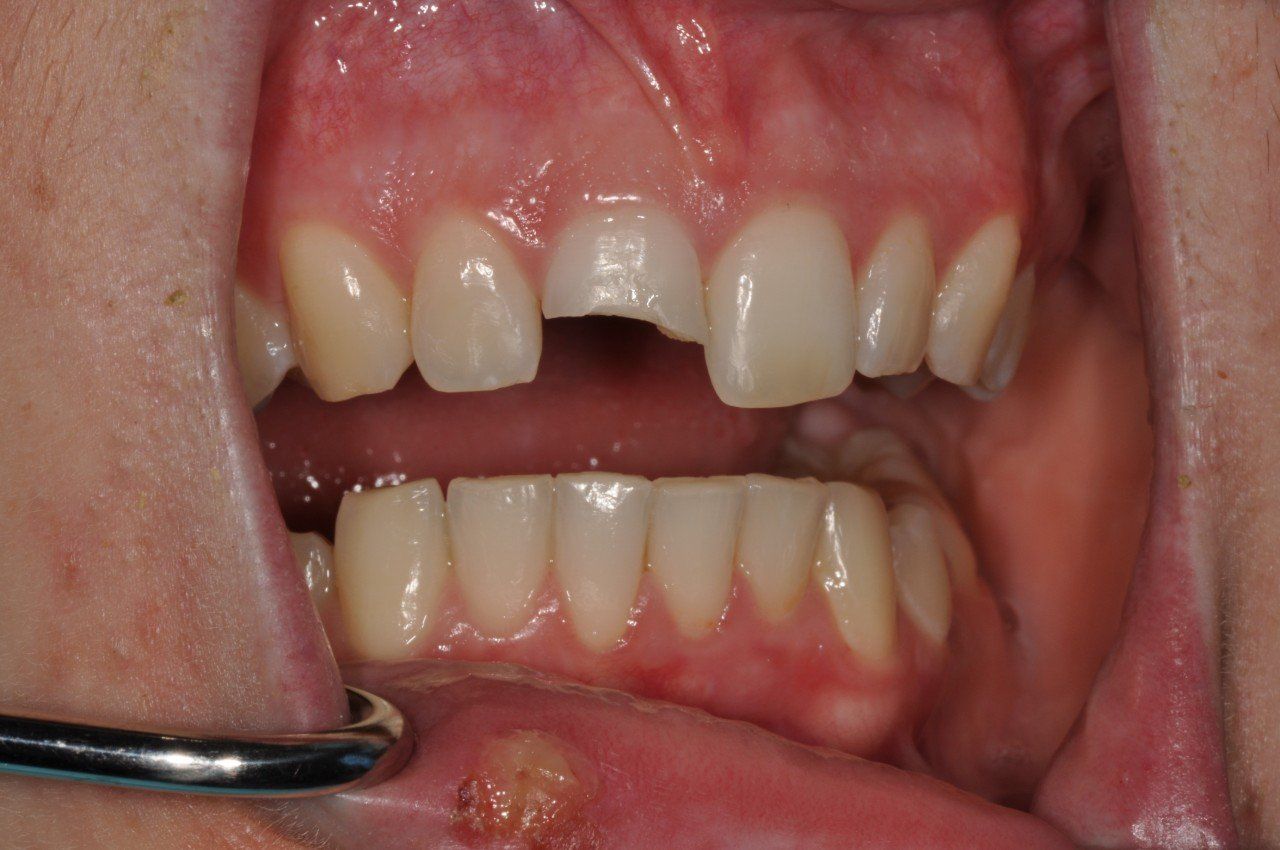
2. Fortunately the fracture did not expose the nerve of the tooth and there was still plenty to support the composite filling.
3. Using multiple layers of different shades and opacities, we were able to build reconstruct the tooth with composite filling material.

4. A grateful young man and his mother were able to leave the surgery after one visit with a tooth that looks like new.

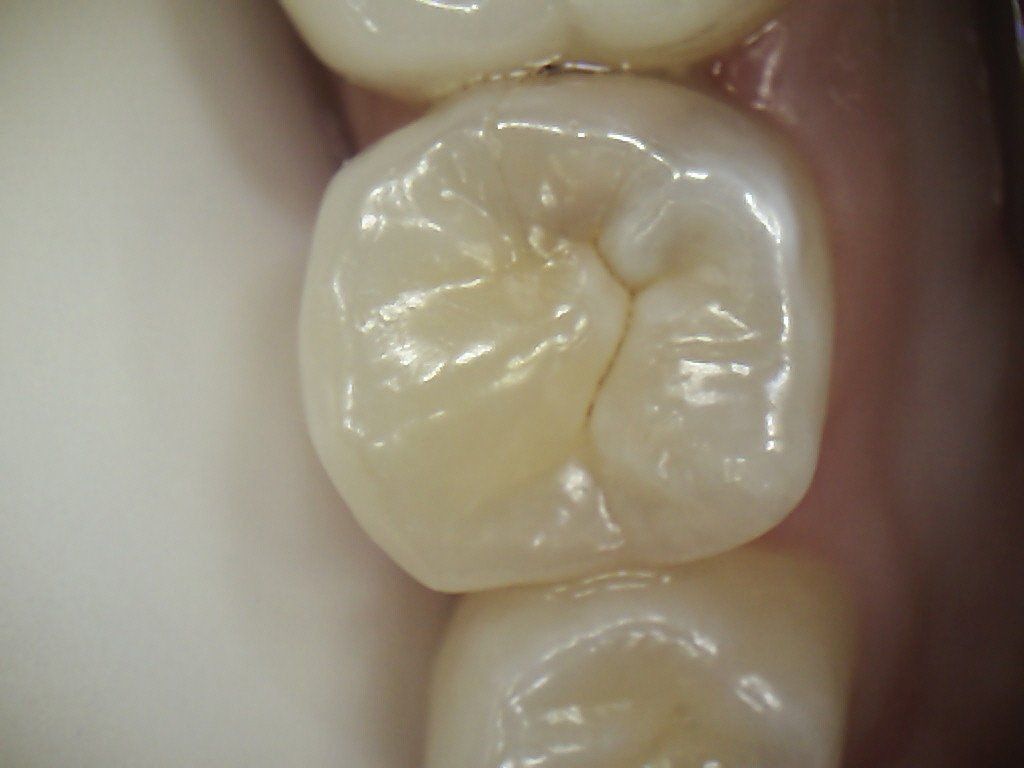
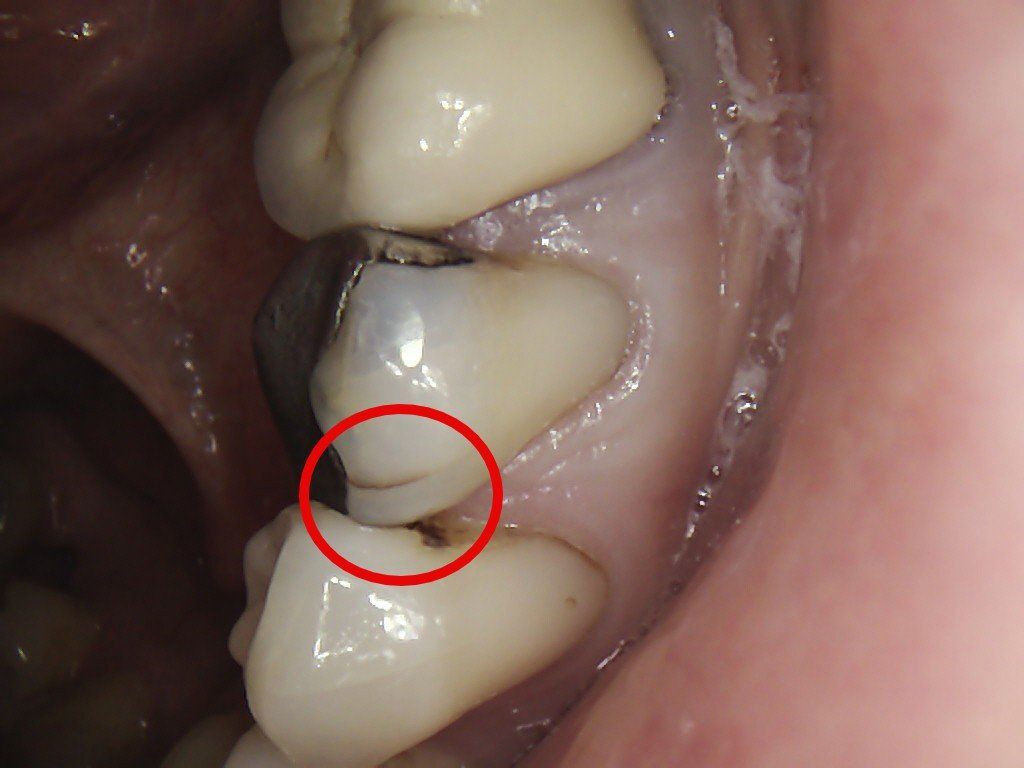
Repairing a decayed side wall with composite
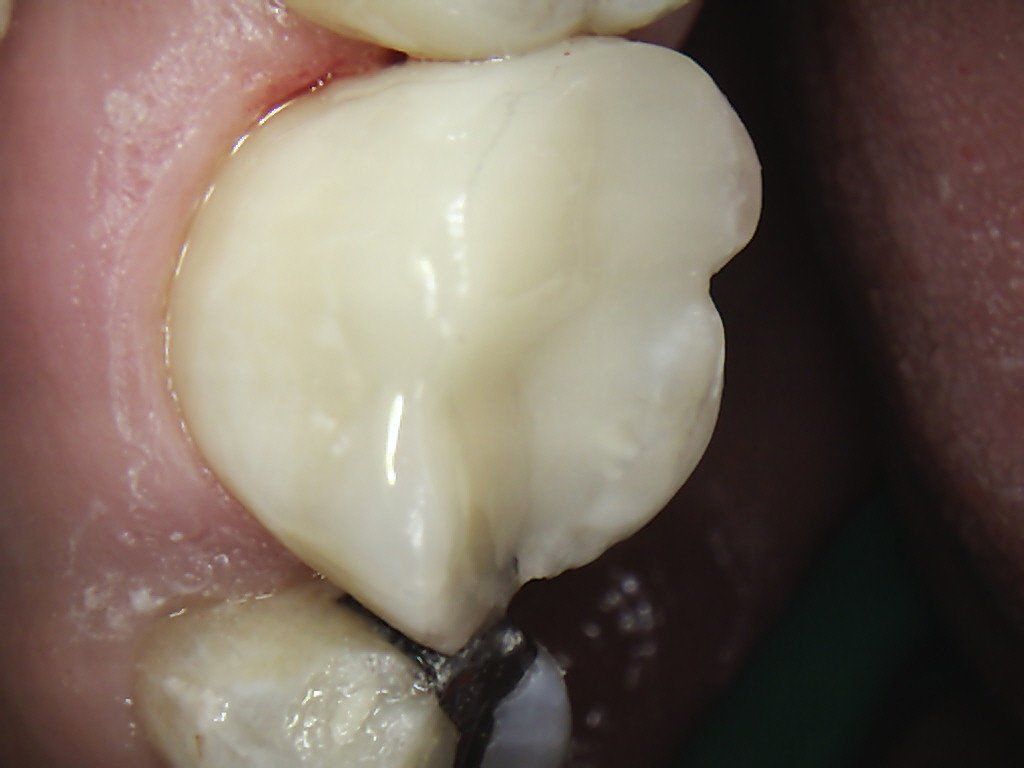
1. At first glance this tooth looks like there is nothing wrong.
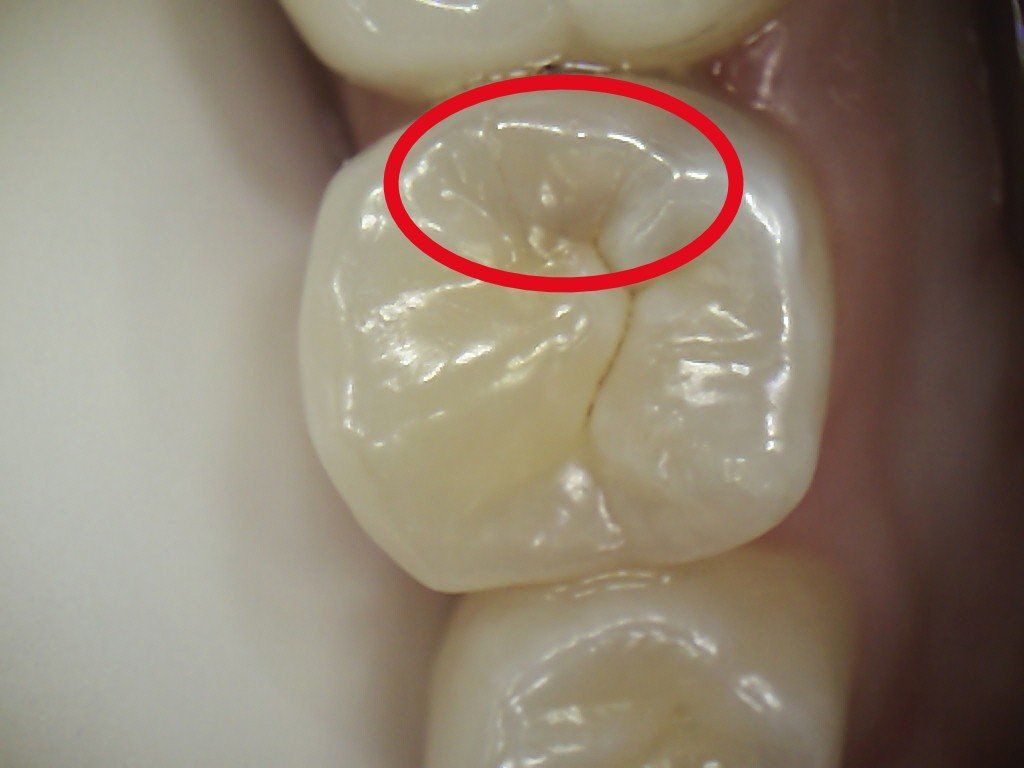
2. However closer inspection and confirmation on x-rays shows there is a dark shadow in the tooth (circled in red) indicative of decay underneath.
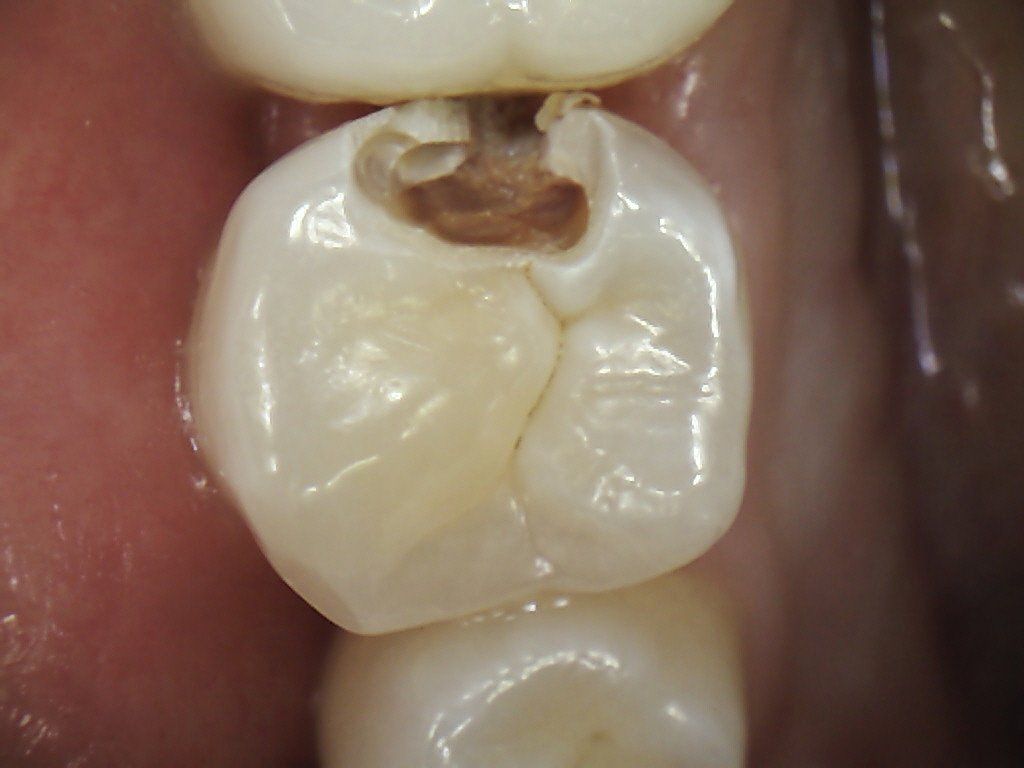
3. Opening up the tooth to access the decay reveals it has extended right through the side wall.
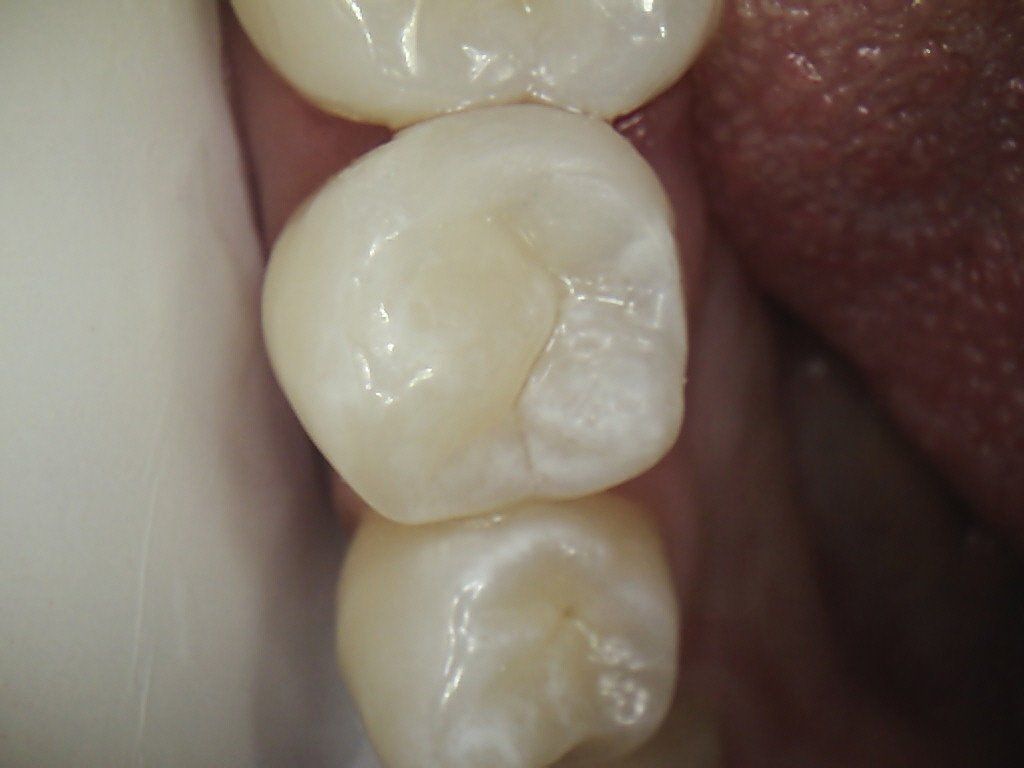
4. All the decay is removed and the hole restored with composite filling material, shaped to look and function like a natural tooth.
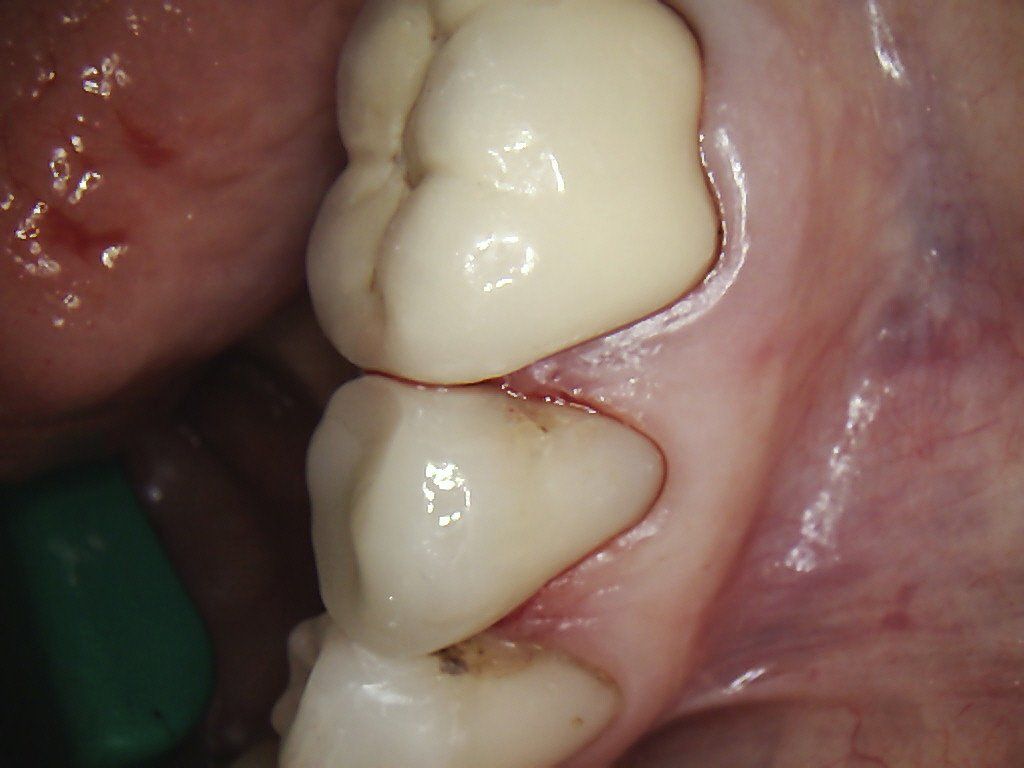
Replacing an old amalgam filling with composite
1. BEFORE: This old metal filling had decay underneath and so needed to be removed to access the decay.

2. AFTER: The amalgam metal filling and decay has been replaced with an aesthetic, bonded composite restoration.
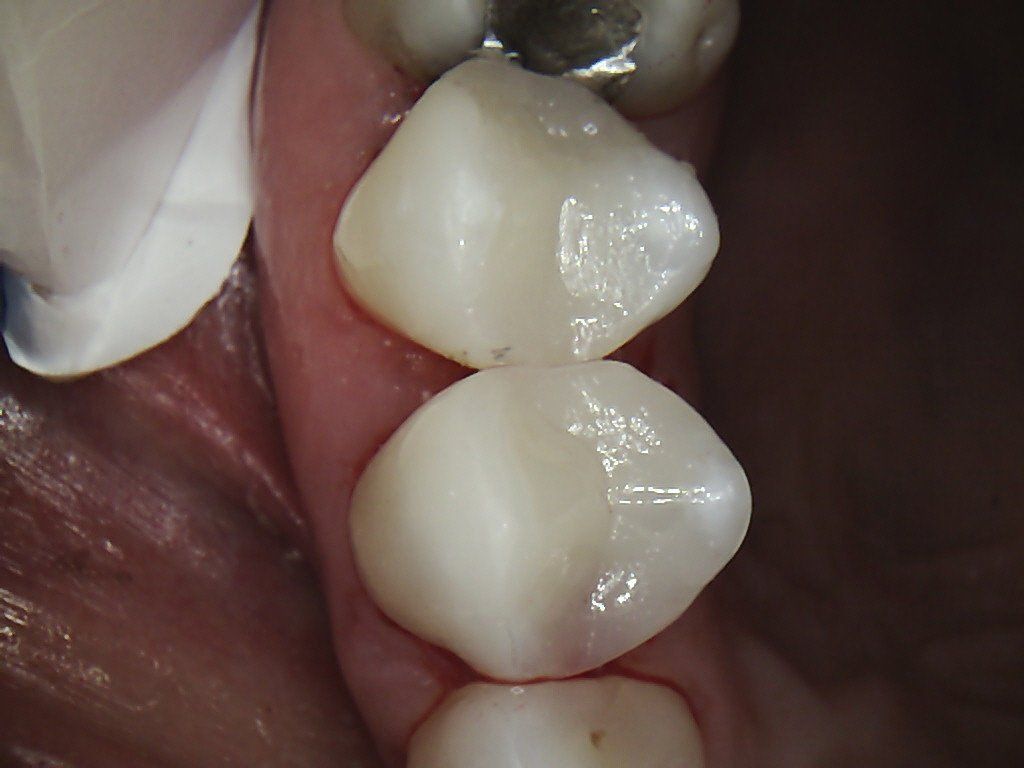
Replacing two amalgam fillings with composite
1. BEFORE: Both teeth have cusp (wall) fractures and failed metal amalgam fillings.

2. AFTER: The teeth are repaired and reinforced with natural looking, bonded composite restorations.
Replacing a large amalgam and repairing a fracture with composite
1. BEFORE: This premolar tooth has a fracture in the outside wall, circled in red. The tooth has been weakened by the large metal amalgam filling.
2. AFTER: The amalgam filling is removed and the fracture bonded over with a new composite restoration.
Protecting a thin wall from fracturing with composite
1. BEFORE: The old filling has been removed. The thin inside front wall of the tooth (cirlced in red) is reduced so the new composite filling can extend over it.

2. AFTER: The new composite restoration covers the weak tooth wall, protecting it from future fracture.