FIBRE REINFORCED COMPOSITE FILLINGS
Fibre reinforced composite fillings are an innovative, high tech and minimally invasive means of repairing broken, cracked and decayed teeth.
What are fibre reinforced composite fillings?
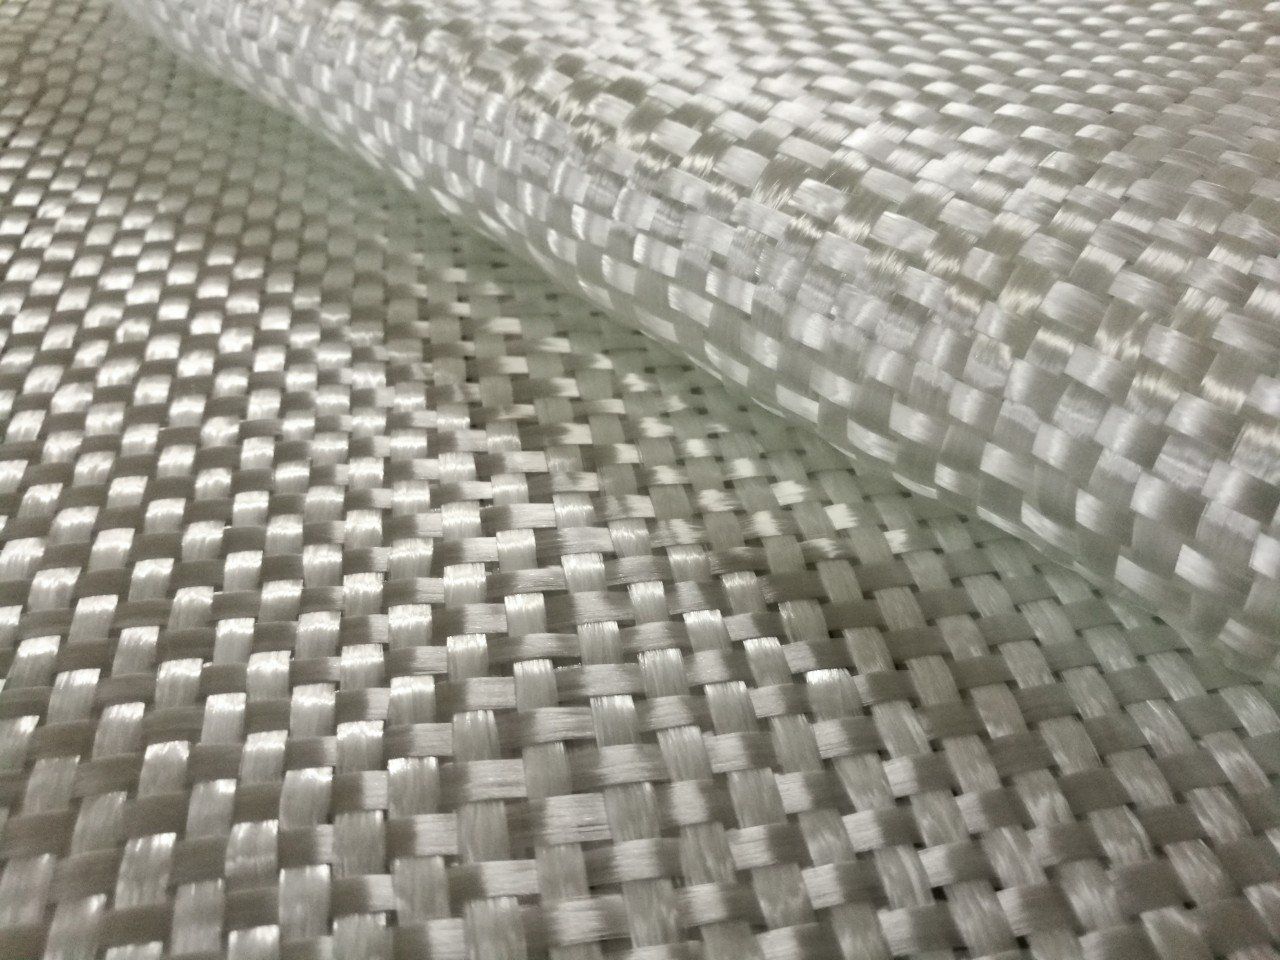
Fibre reinforced composite fillings use normal composite filling, but incorporate non stretch, woven polyethylene fibre into the restoration as it is built. This provides extra strength, resisting flexion and fracture. The same concept is found in fibre glass, where a strong woven matting is set into a resin matrix. The Composite & Bonding
page outlines the principle behind the technique as well as information on the advantages, challenges and longevity.
While fibre reinforced composite fillings are not as hard as porcelain or metal, this is actually a good thing as they wear at the same rate as teeth. And they can be patched or repaired if needed. We have been using the technique since 2011 and have not had a single failure.
The legacy of past dentistry and cracked teeth
Many people have had their teeth restored with metal amalgam fillings. The unfortunate downside is the filling preparation usually cut through the centre of the tooth, removing all the anatomical cross bracing inside. Without this internal cross bracing, the walls of these teeth bend and flex during eating. With time they develop fracture lines, and eventually break.
Historically these teeth required crowns. Some dentists still like to restore them with porcelain fillings. However, porcelain restorations involve cutting away more tooth to ensure the porcelain is not too thin, and removing undercuts so the rigid porcelain can be inserted. And porcelain fillings are 2-3x the cost of fibre reinforced composites.
Solving the problem with fibre reinforced composites
Fibre reinforced composite fillings are perfect for repairing and reinforcing these cracked teeth. Teeth can be rebuilt after they fracture but the ideal is to restore and protect cracked walls before they break. During your examination we look closely for any fracture lines.
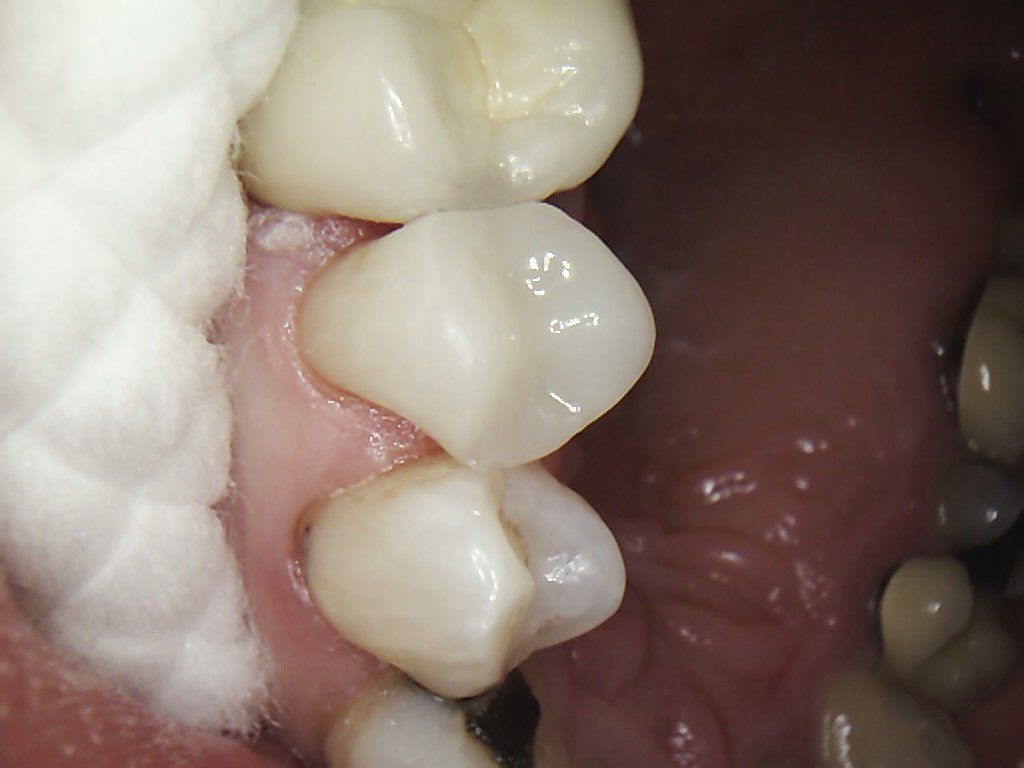
Repairing a fractured premolar tooth
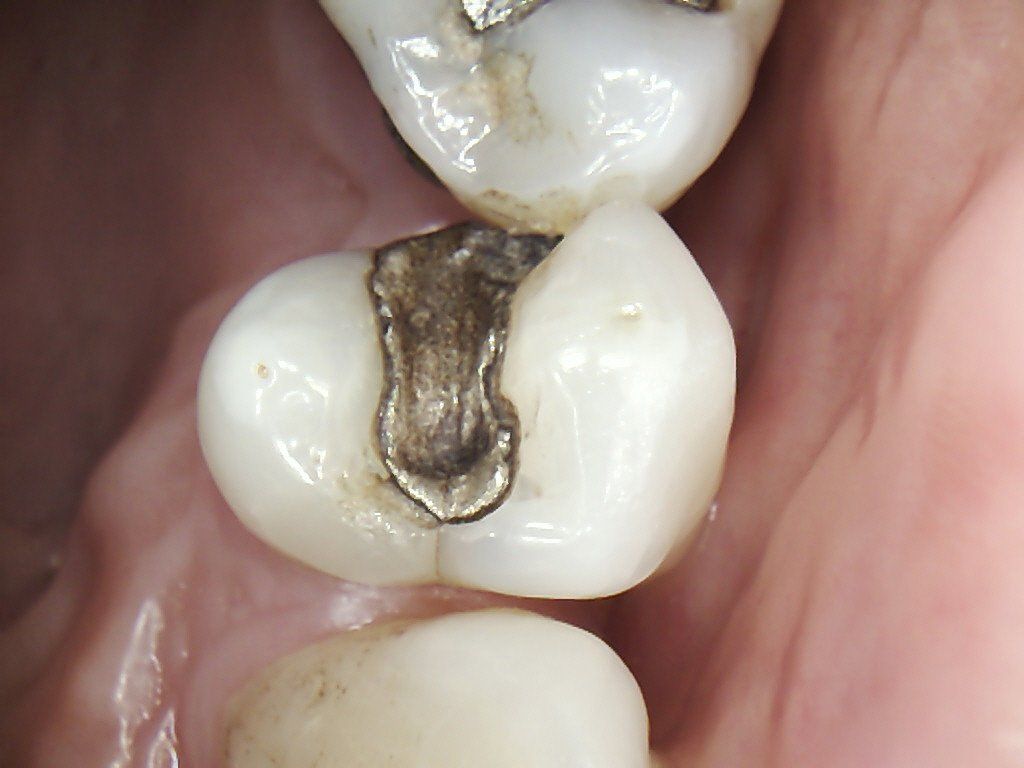
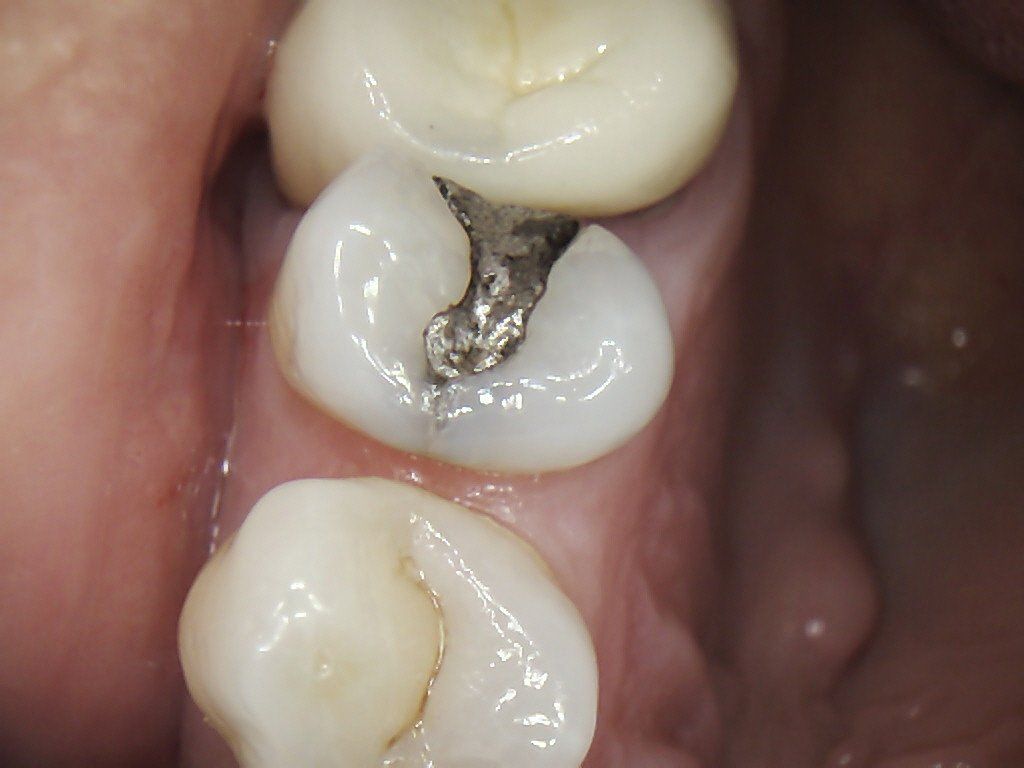
1. This premolar tooth has a metal amalgam filling that has weakened the tooth and lead to a fracture in the inside wall or cusp.
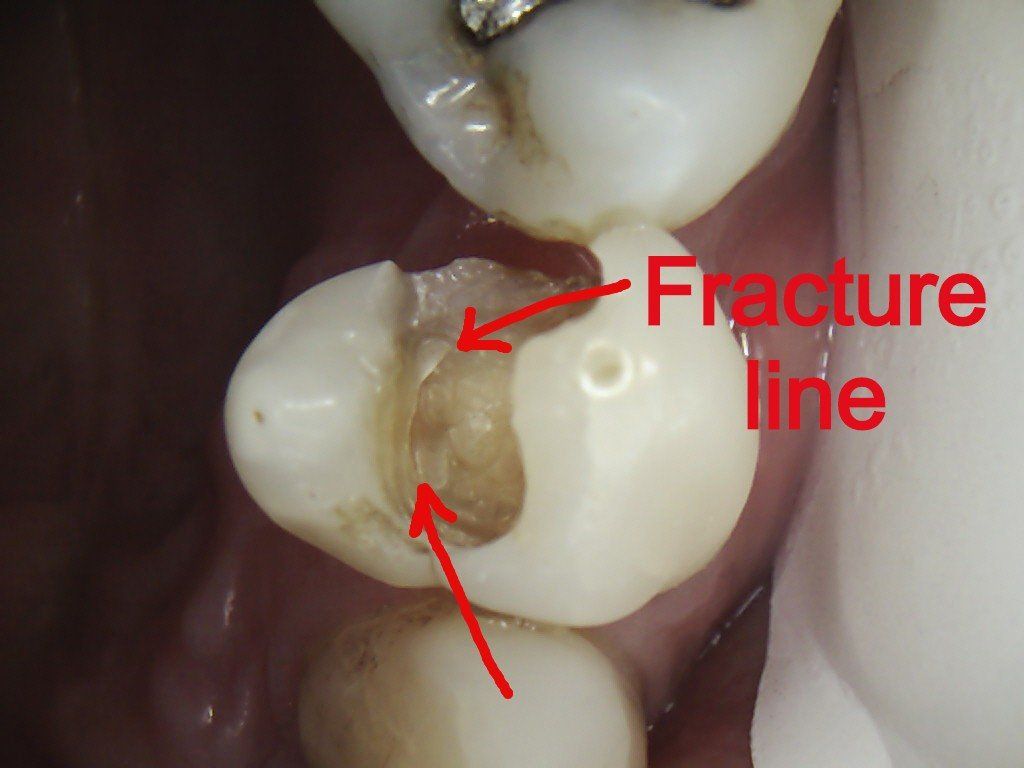
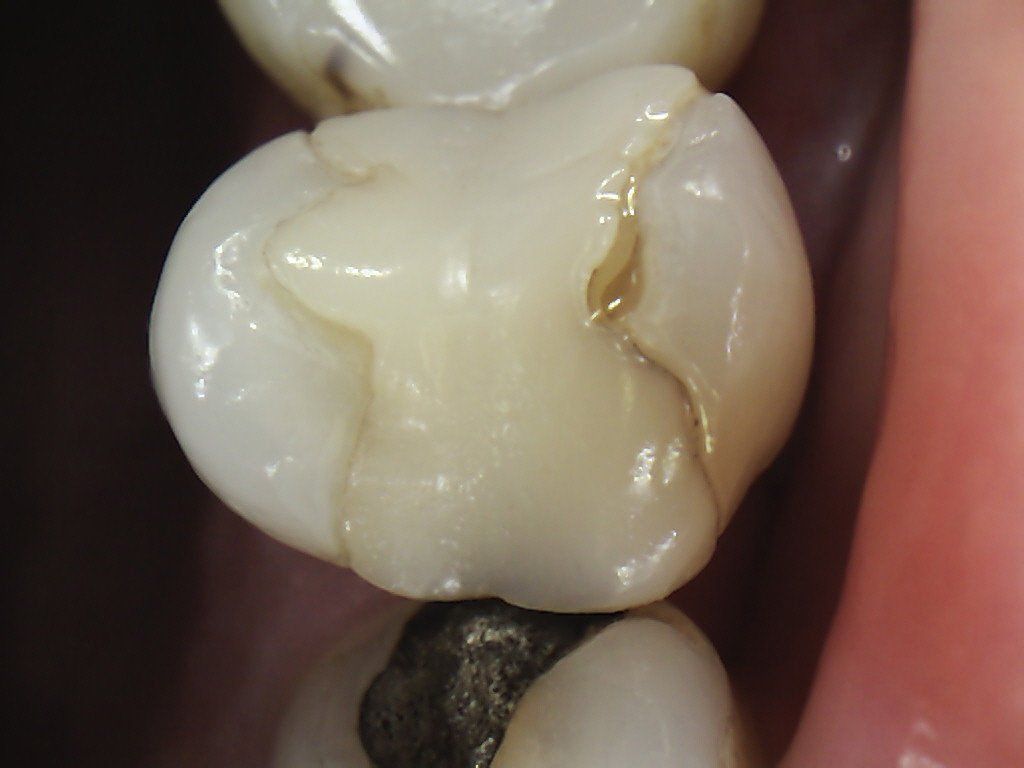
2. When the metal filling is removed, the fracture is visible as a fine white line.
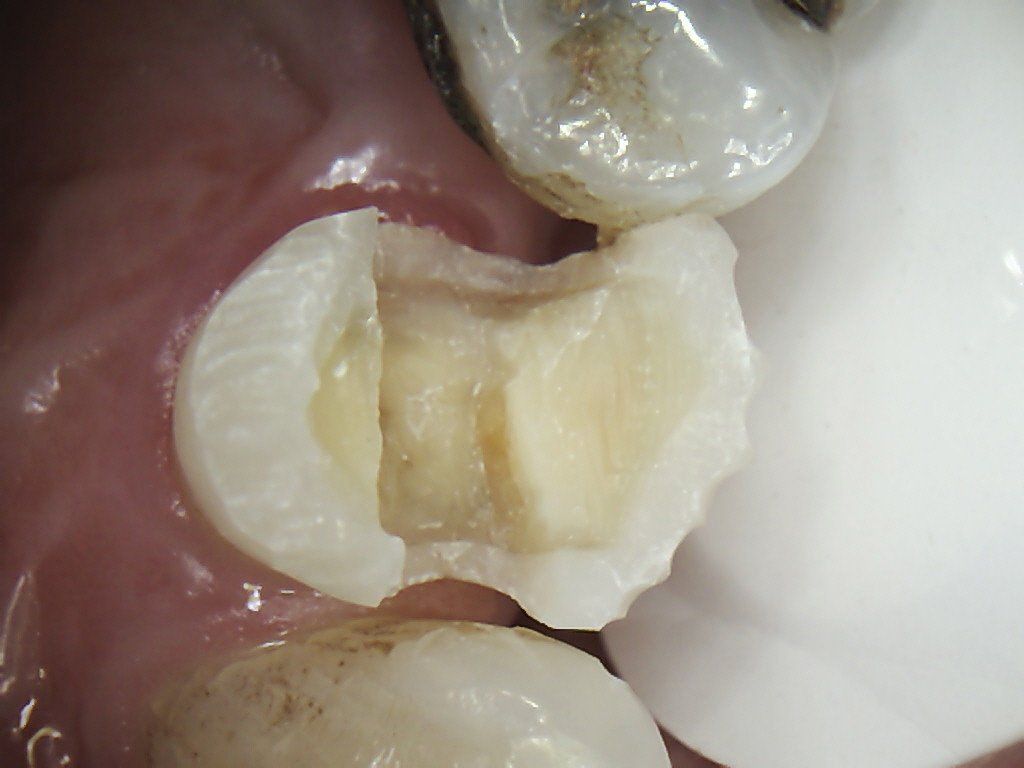
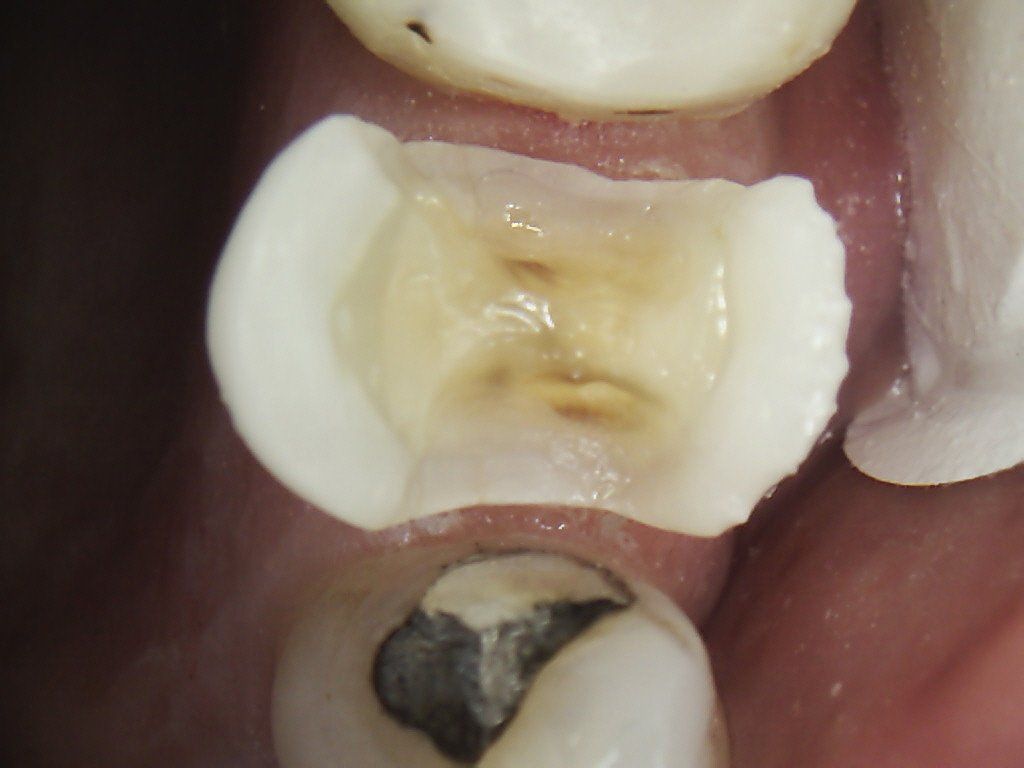
3. We remove as much of the fracture as we can without risking exposing the nerve of the tooth, and then bevel the walls so the composite can wrap over and around them.
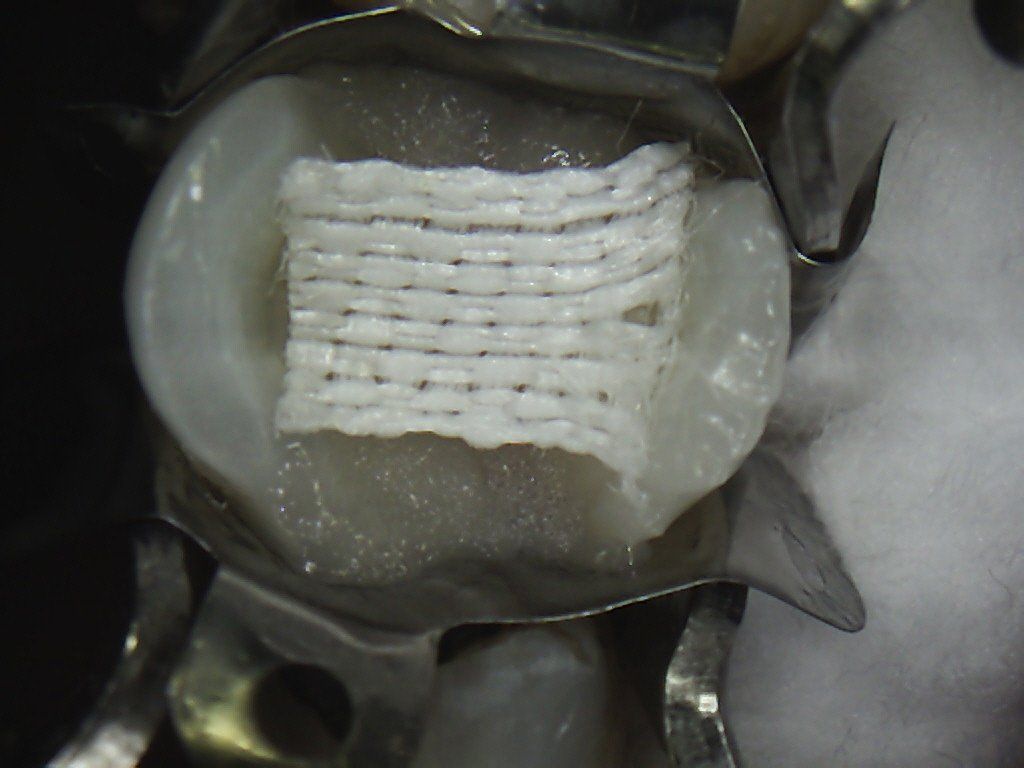
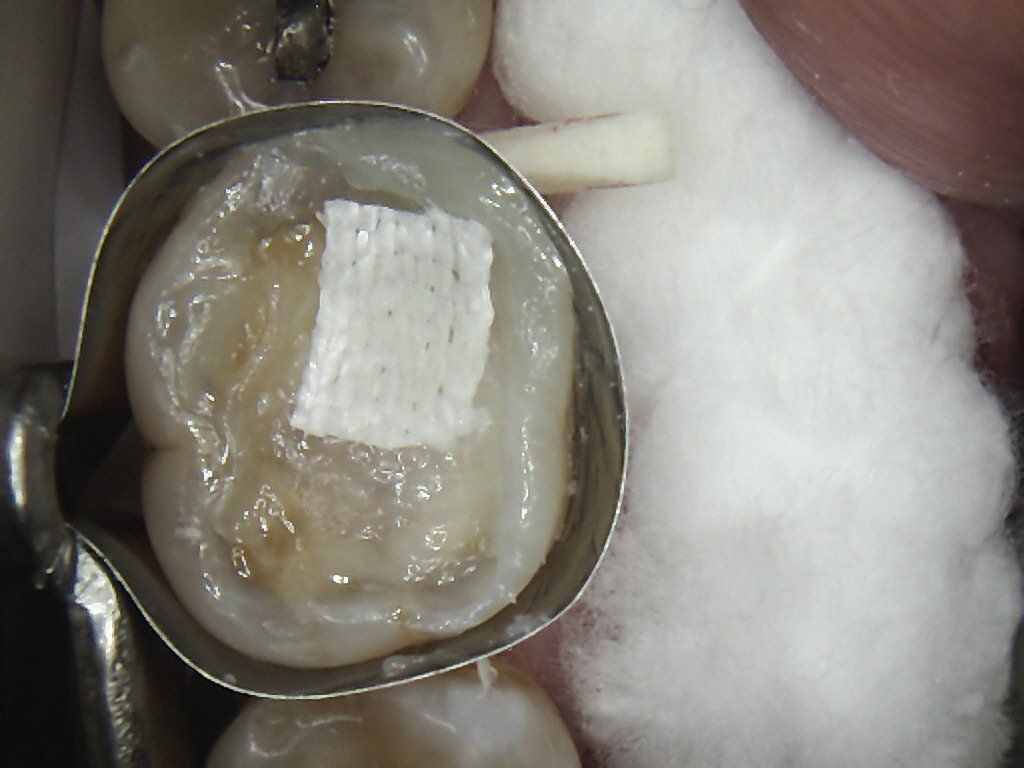
4. The tooth is measured to determine what size piece of polyethylene fibre will be needed.
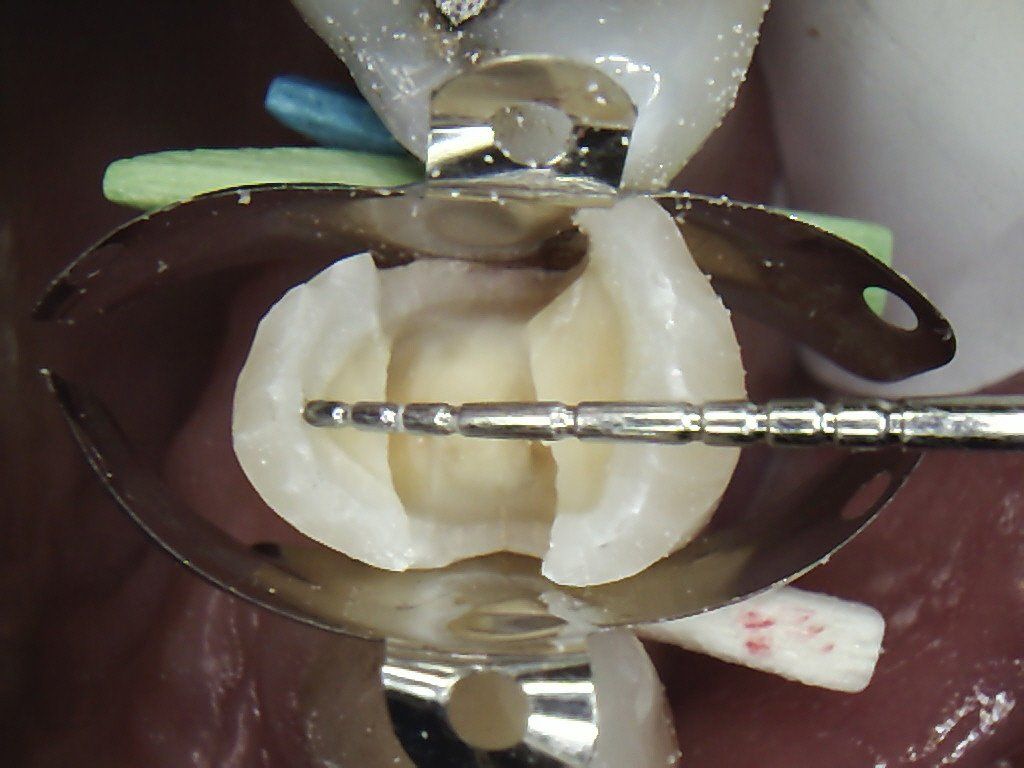
5. The composite is placed into the tooth but before it is set, the polyethylene fibre is placed as a straddle between the two weakened walls.
6. More composite filling material is placed over the fibre and the rest of the tooth built up to it's natural shape.
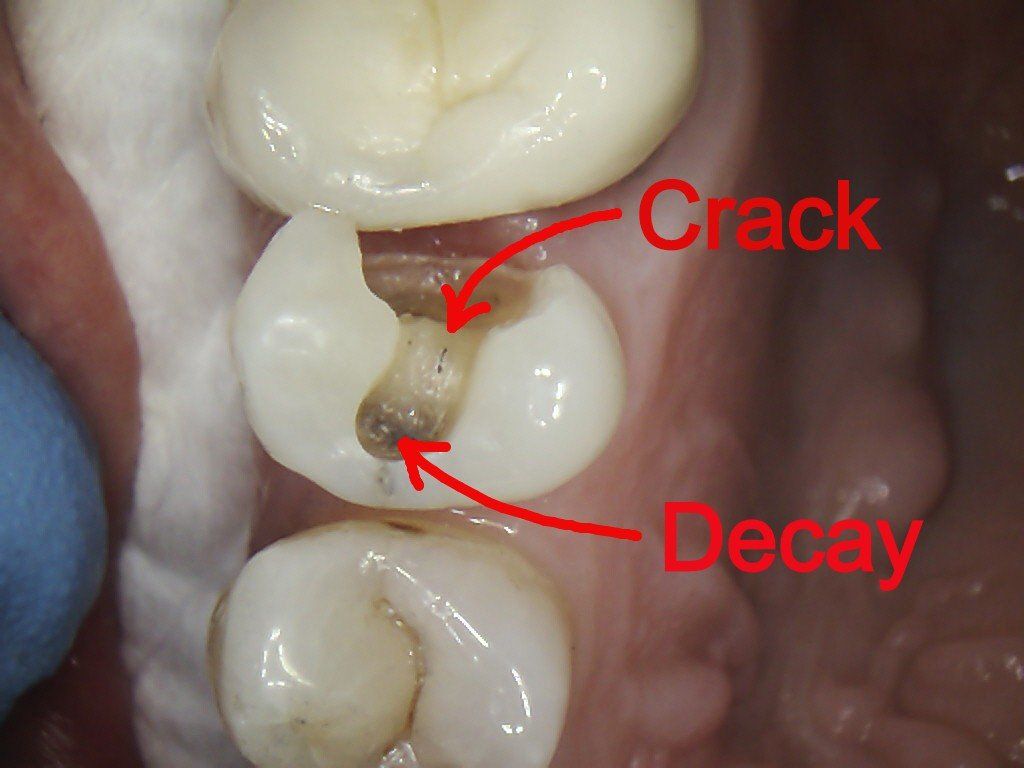
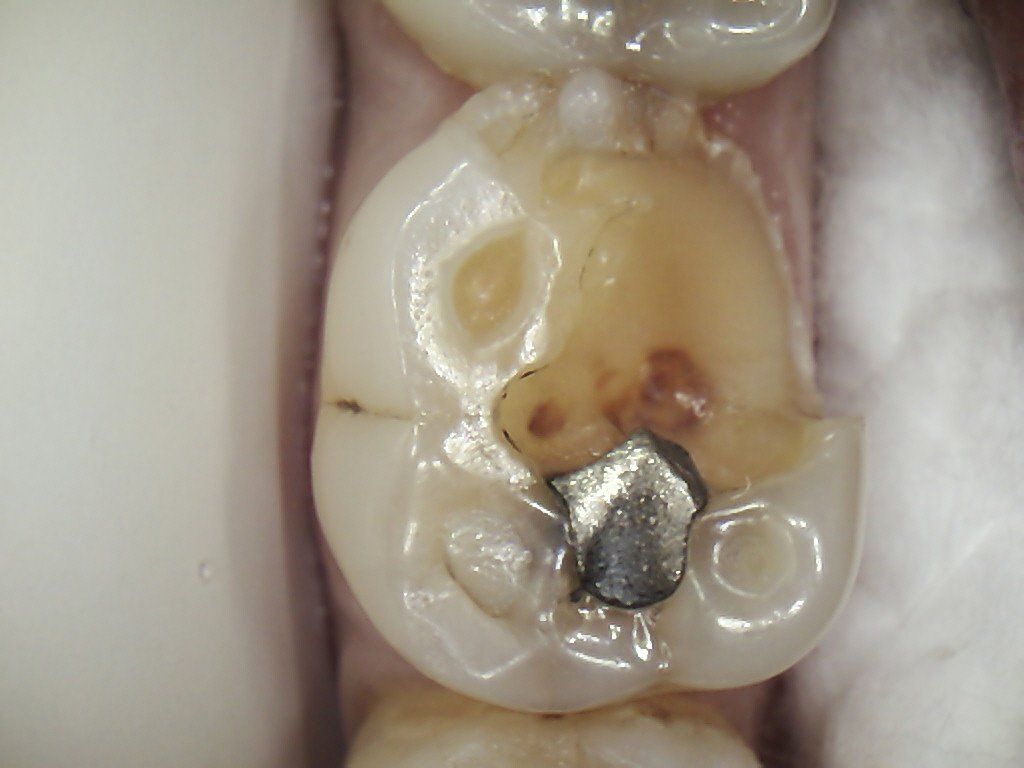
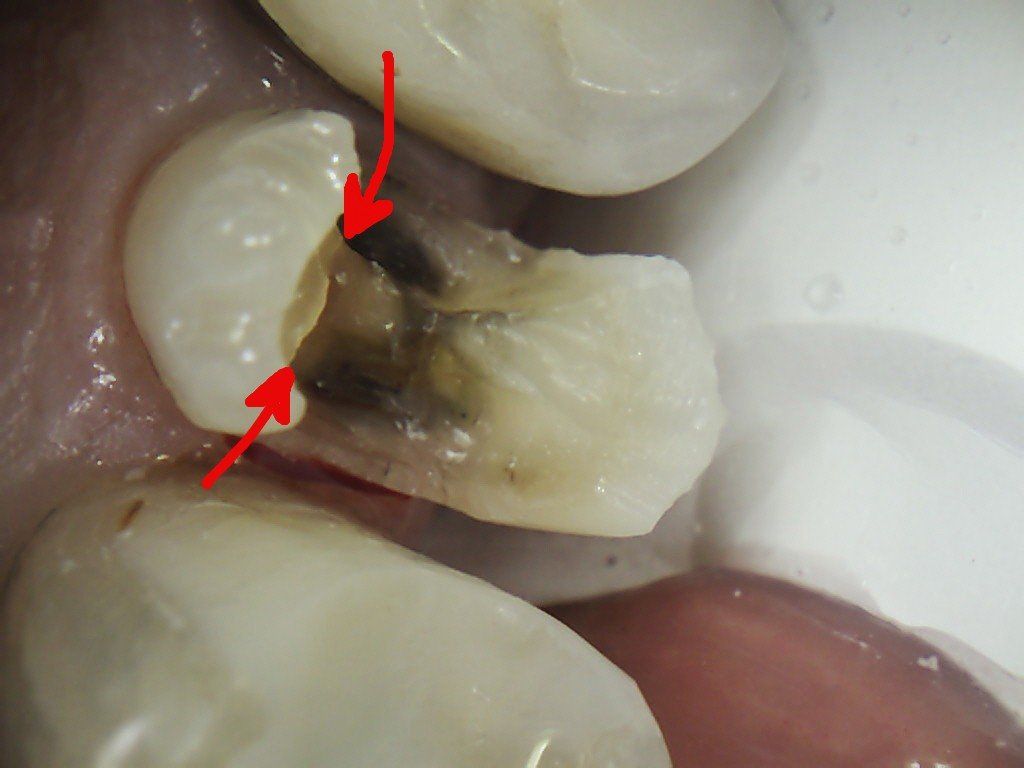
Repairing a decayed and cracked premolar
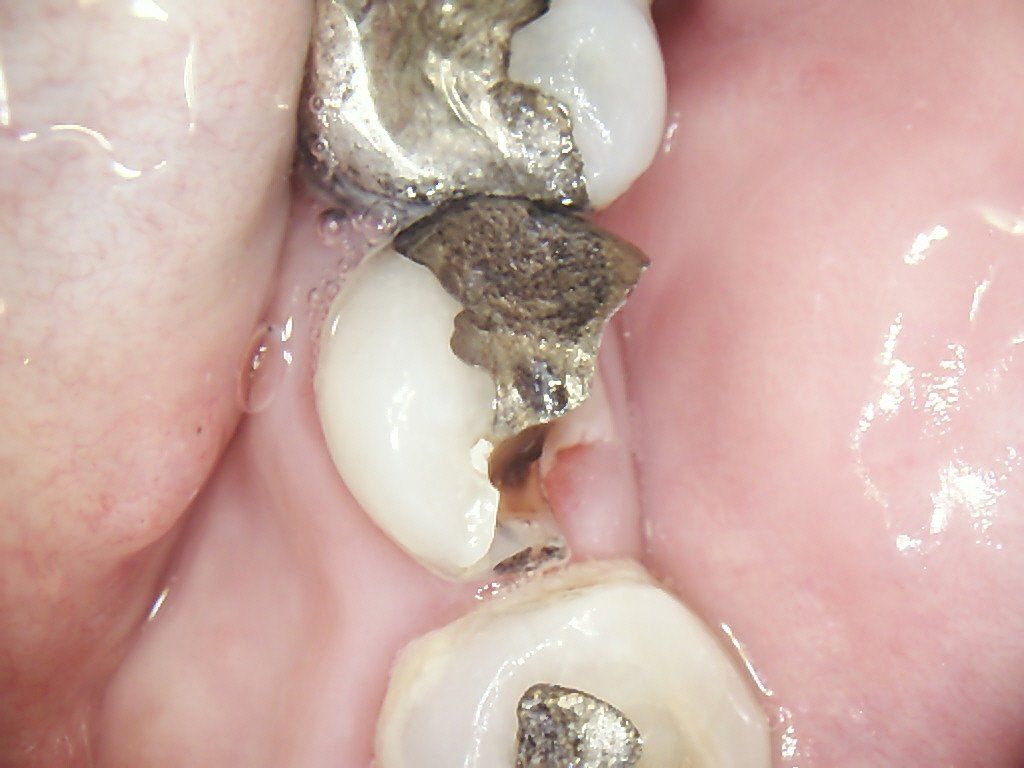
1. This premolar has a metal amalgam filling with a visible fracture down the front wall of the tooth. There is decay in the front of the tooth, probably from bacteria that got in thorough the fracture line.
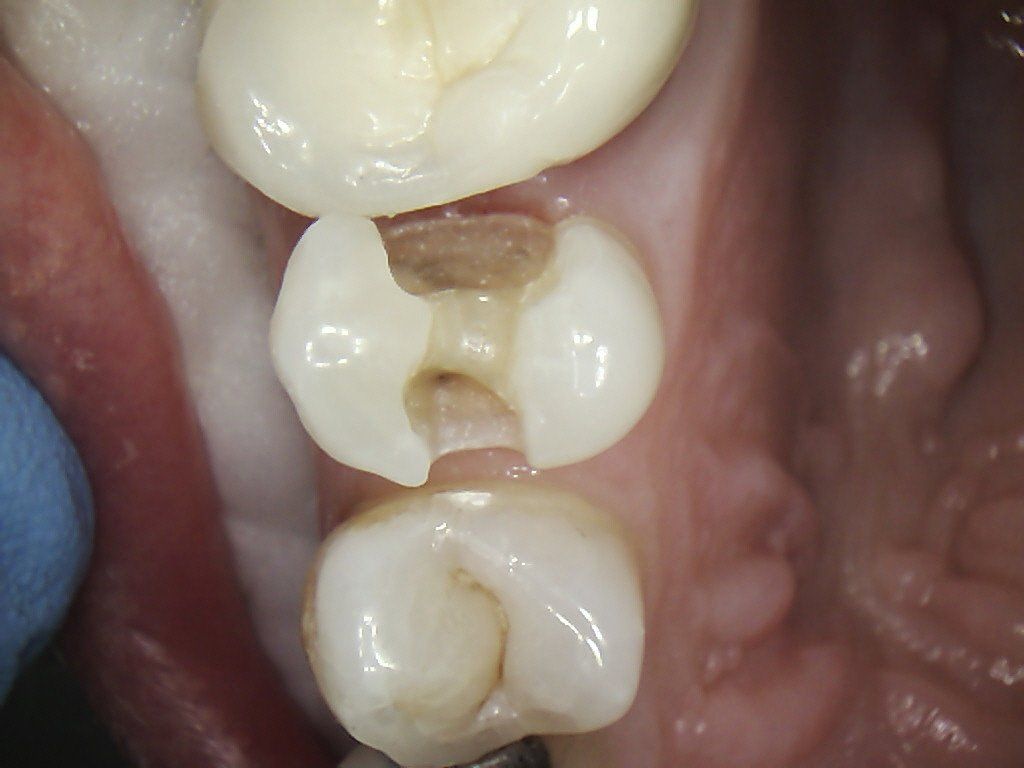
2. When the metal filling is removed a clear crack can be seen in the bottom of the tooth. The decay is still deeper, and seen as the shadow at this level.
3. The decay is uncovered and drilled away.
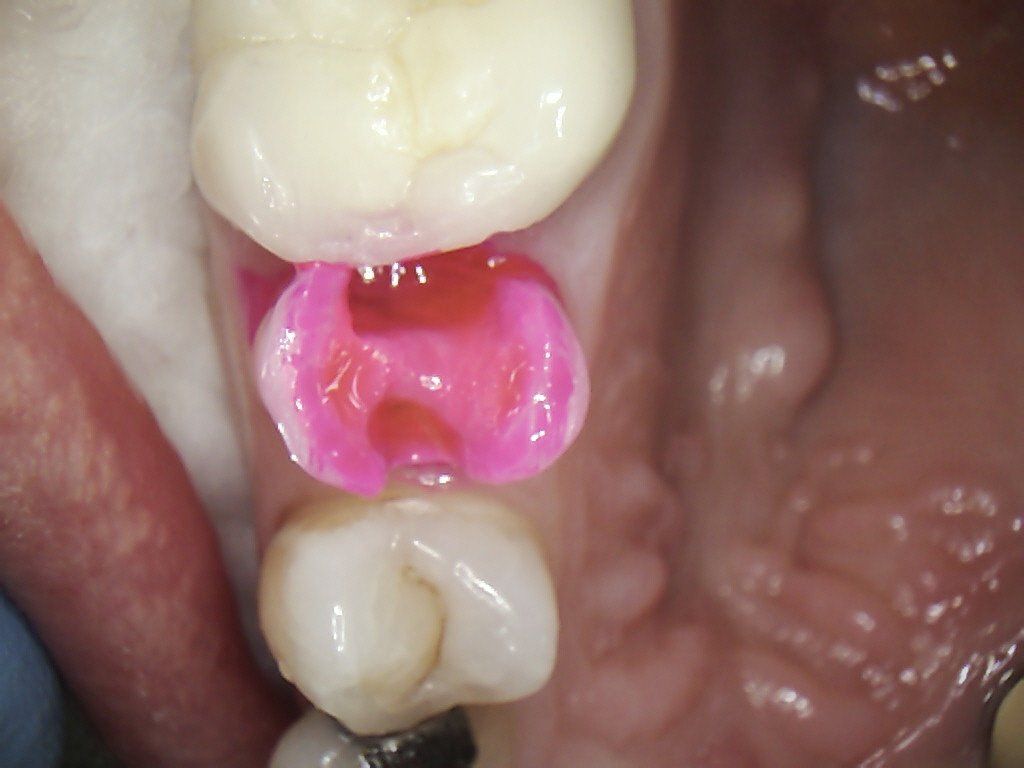
3. To ensure all the decay has been removed, the tooth is stained with pink caries dye.
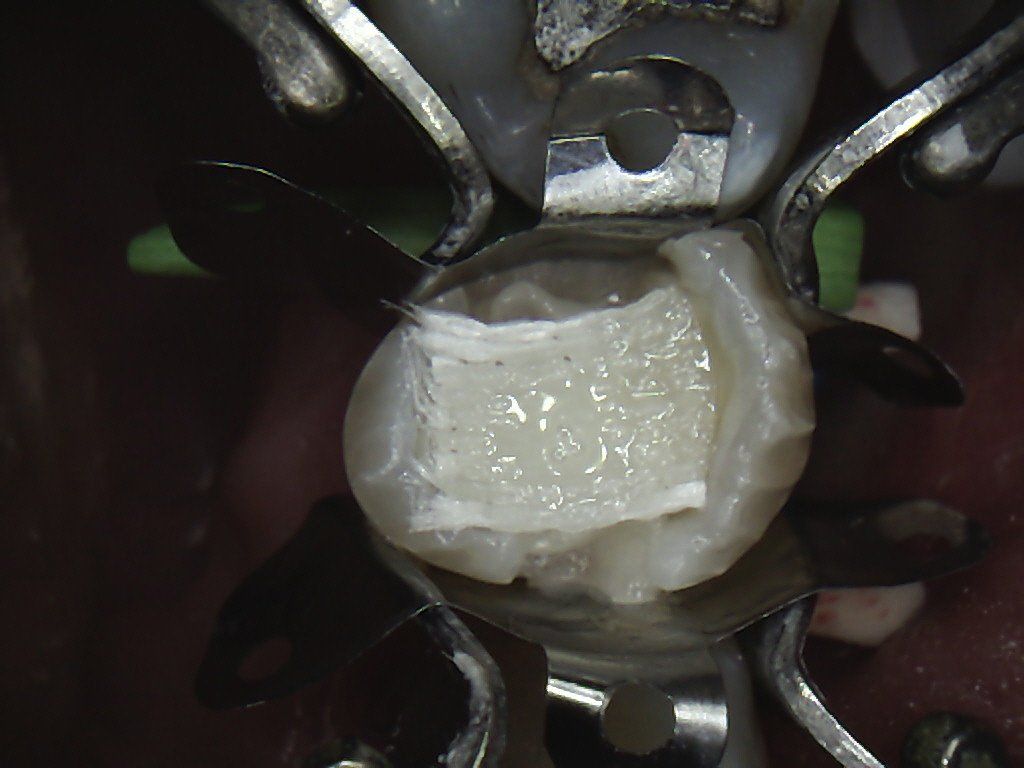
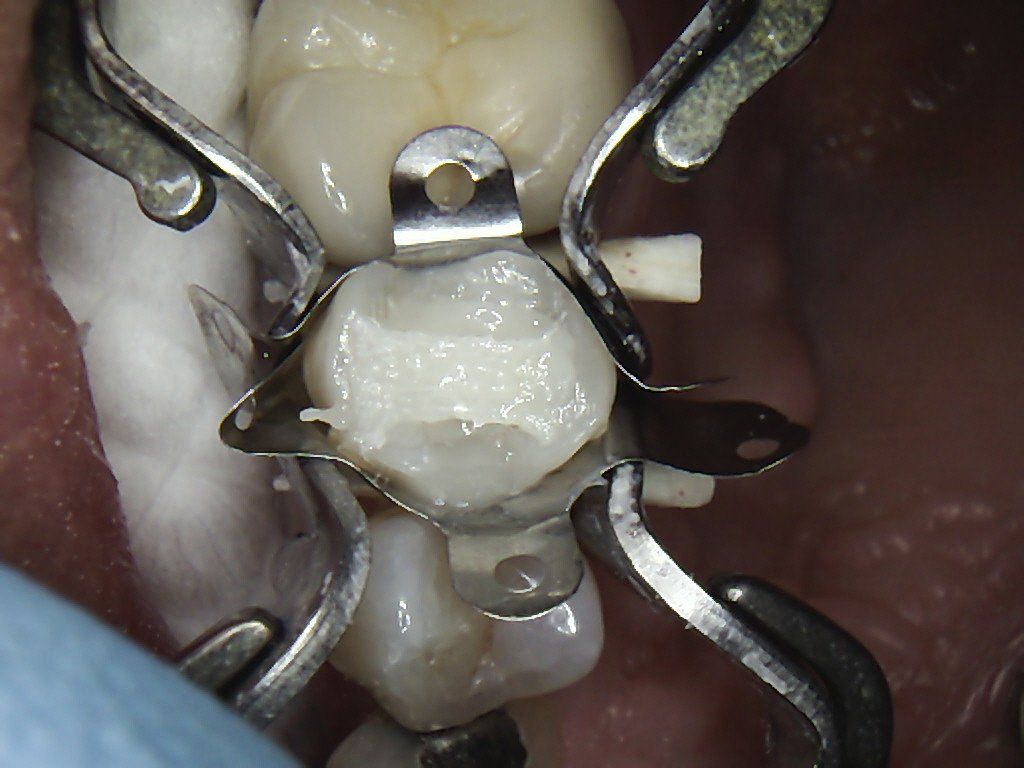
5. The tooth is restored with layers of composite filling material. The polyethylene fibre is placed just below the surface, straddling between two weakened cusps and over the fracture below.
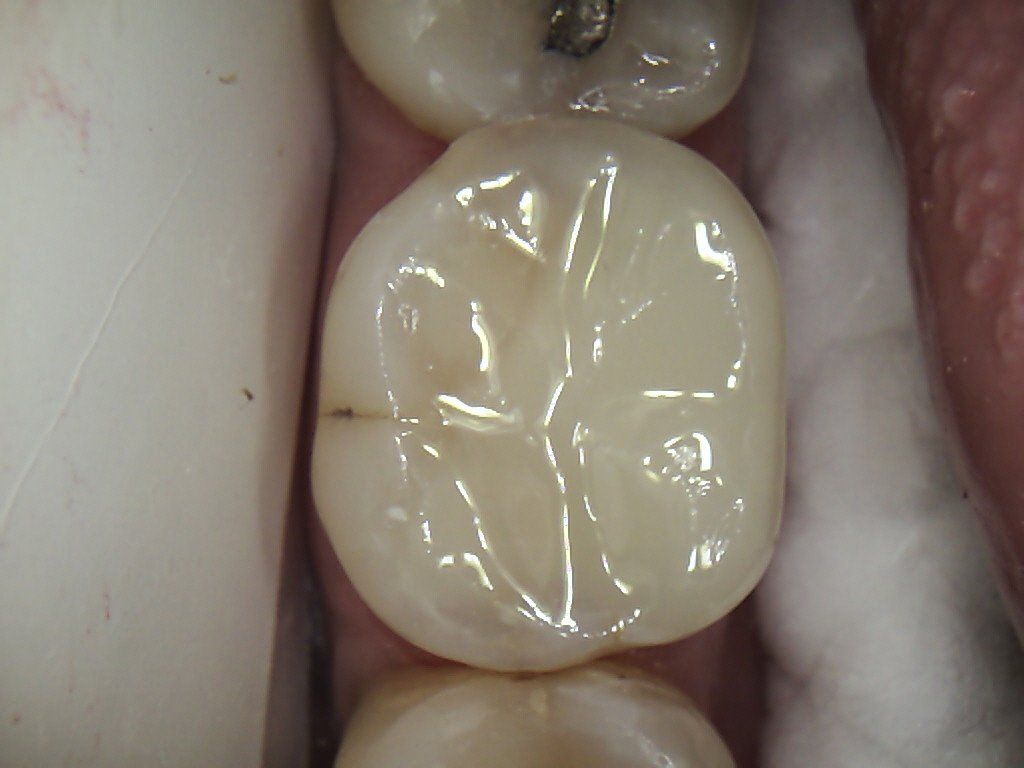
6. The tooth is finished and polished. The non-stretch fibre reinforcing now prevents the cusps from flexing and minimises the risk of further cracking or breakage.
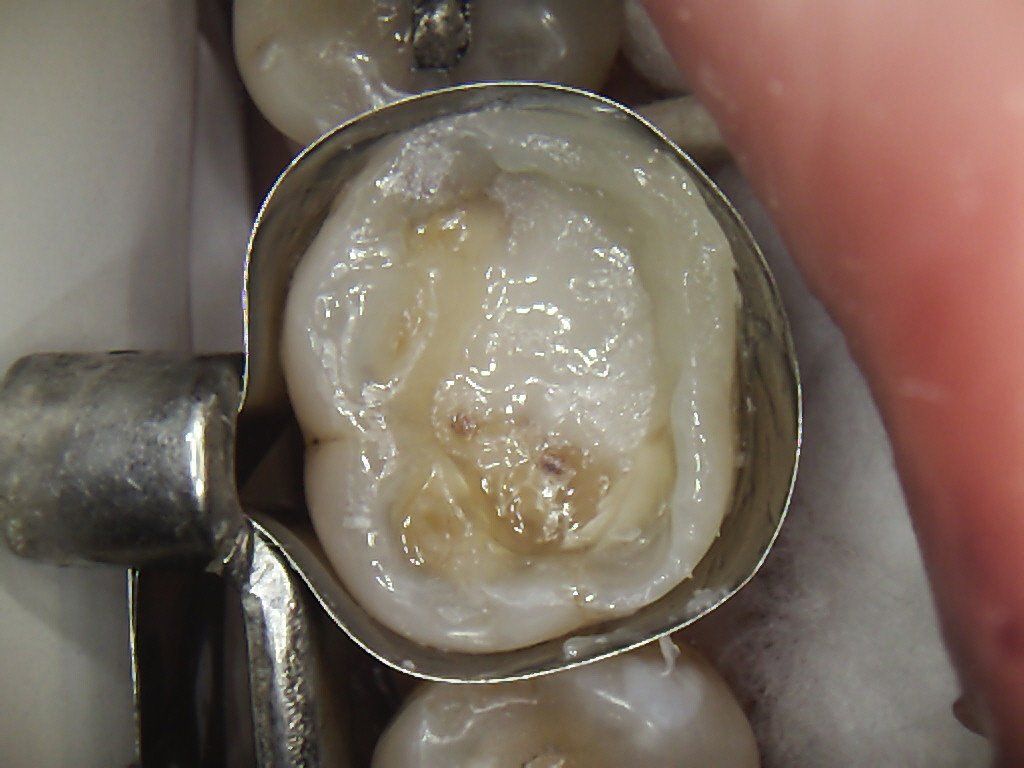
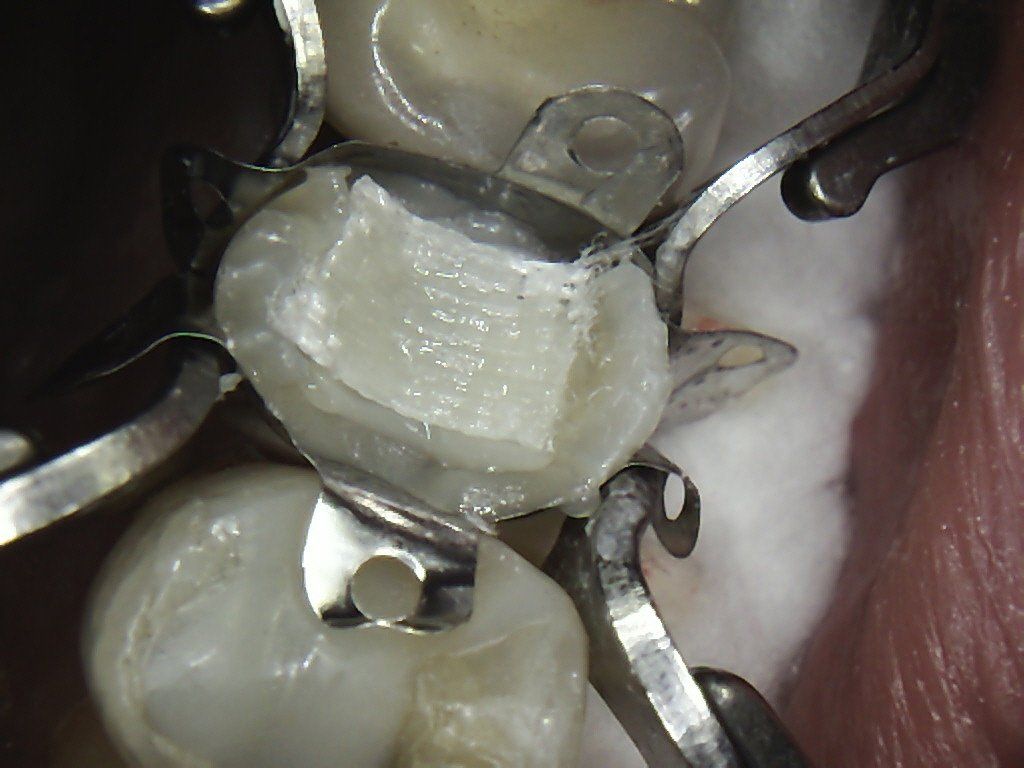
Replacing an old leaking composite with decay beneath it
1. This old composite filling has reached the end of its life, is leaking, and has developed decay underneath.
2. The old filling is removed to reveal the decay underneath. This is the yellow/brown material on the top of the picture. It is soft with almose a sawdust like consistency.

3. The decay is carefull removed, preserving all the tooth possible. The thinner outside wall is bevelled, so the composite can wrap over and reinforce it.
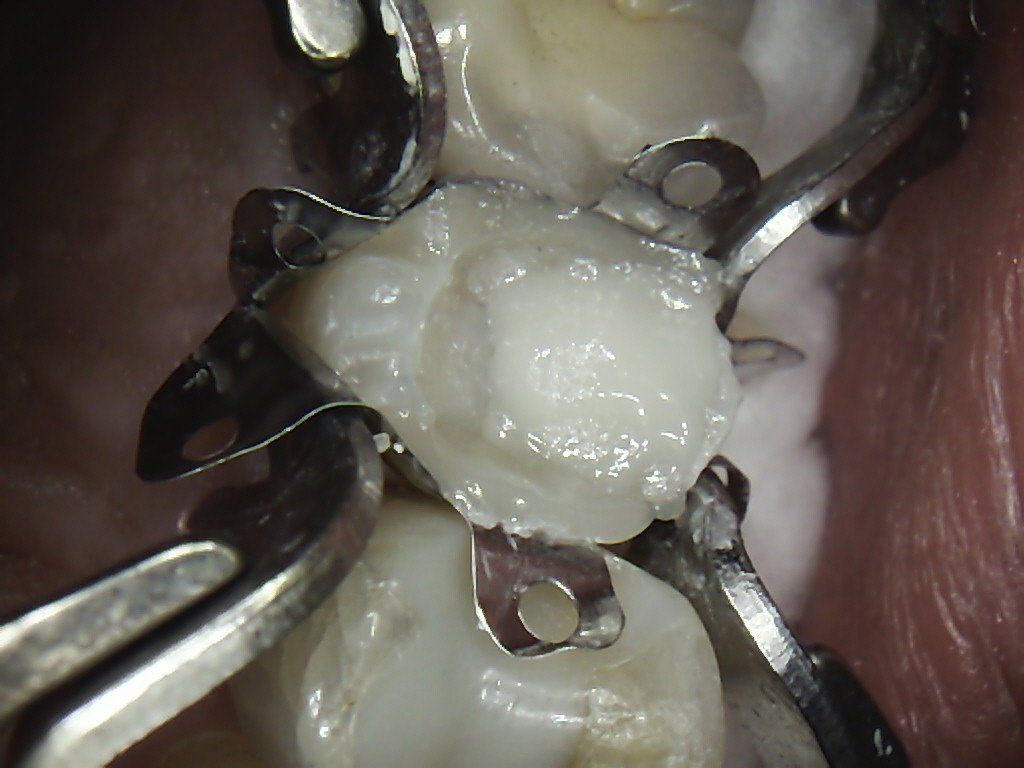
4. The placement of the composite filling begins in layers and the polyethylene fibre is placed between the two cusps to prevent flexion.
5. The filling is built up to full height and the metal bands that shape the walls are removed.
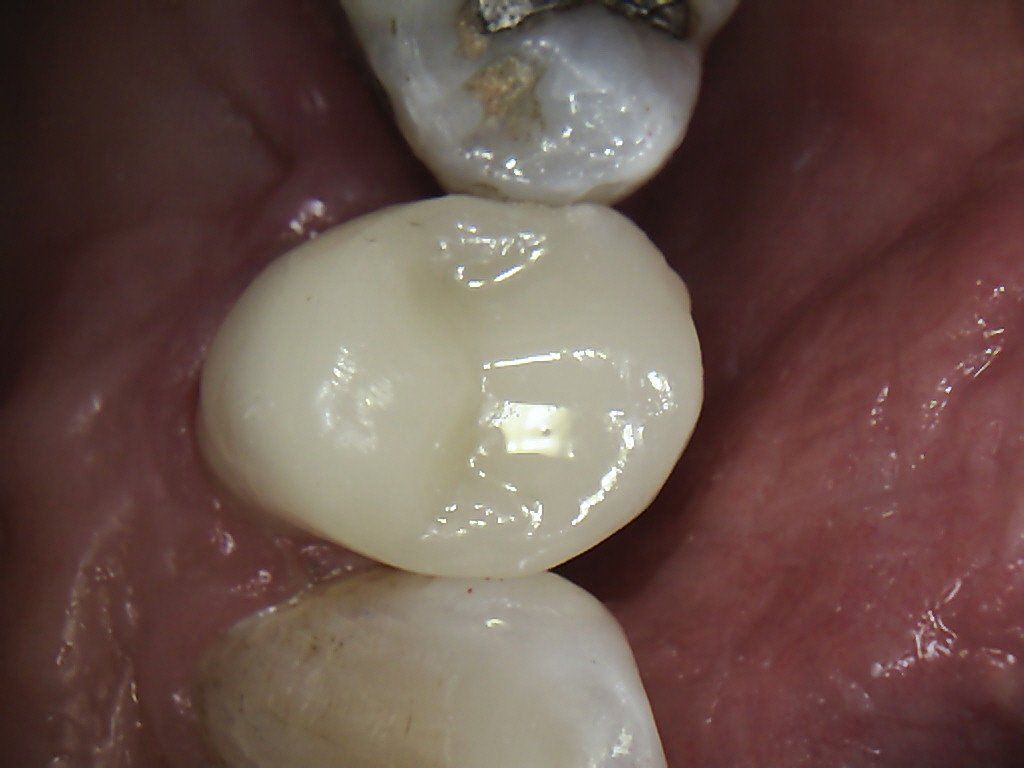
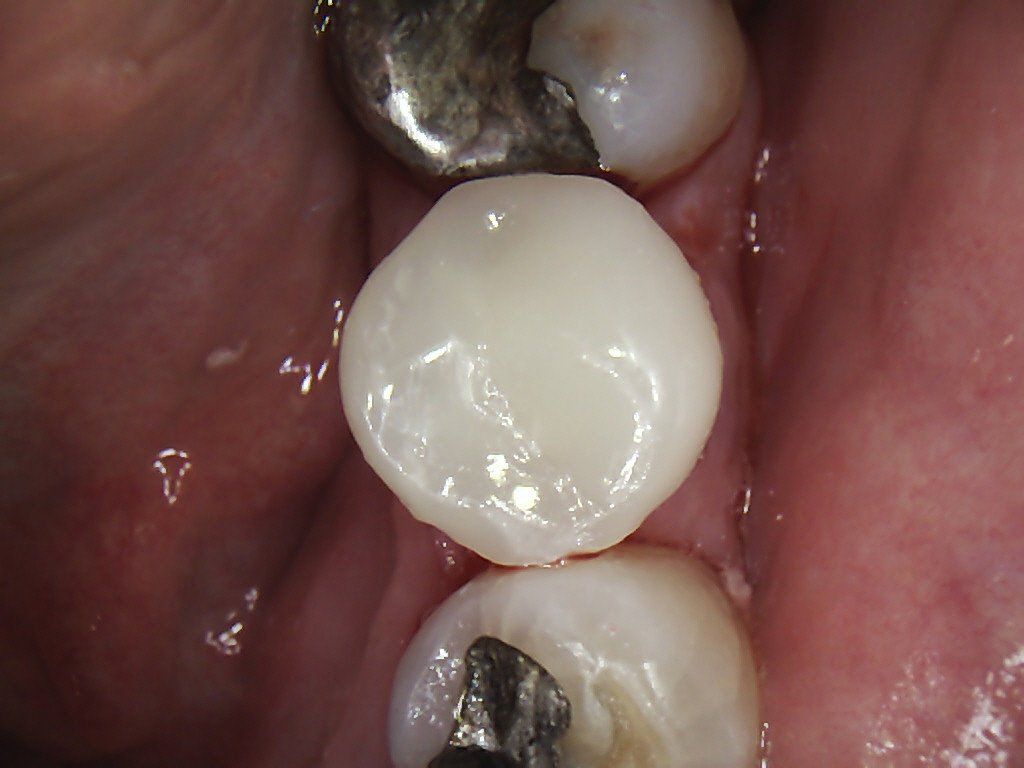
6. The final fibre reinforced composite filling is polished. The bite is checked with red bite paper, seen as marks on the adjacent teeth. Another reinforced tooth is good to go!

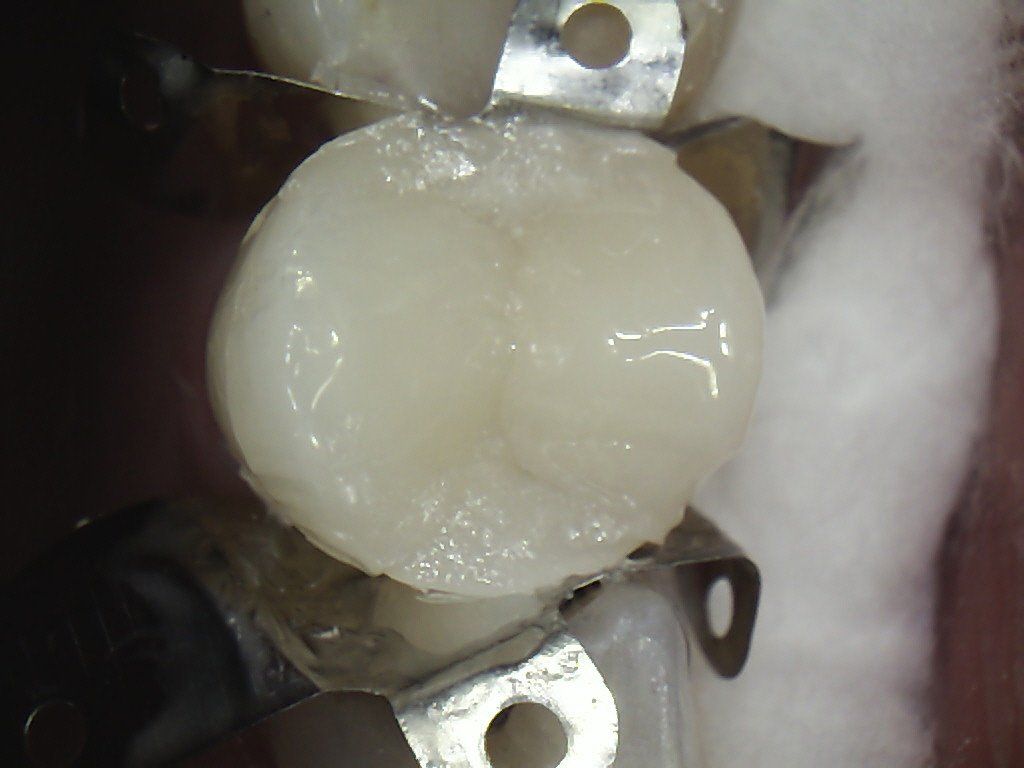
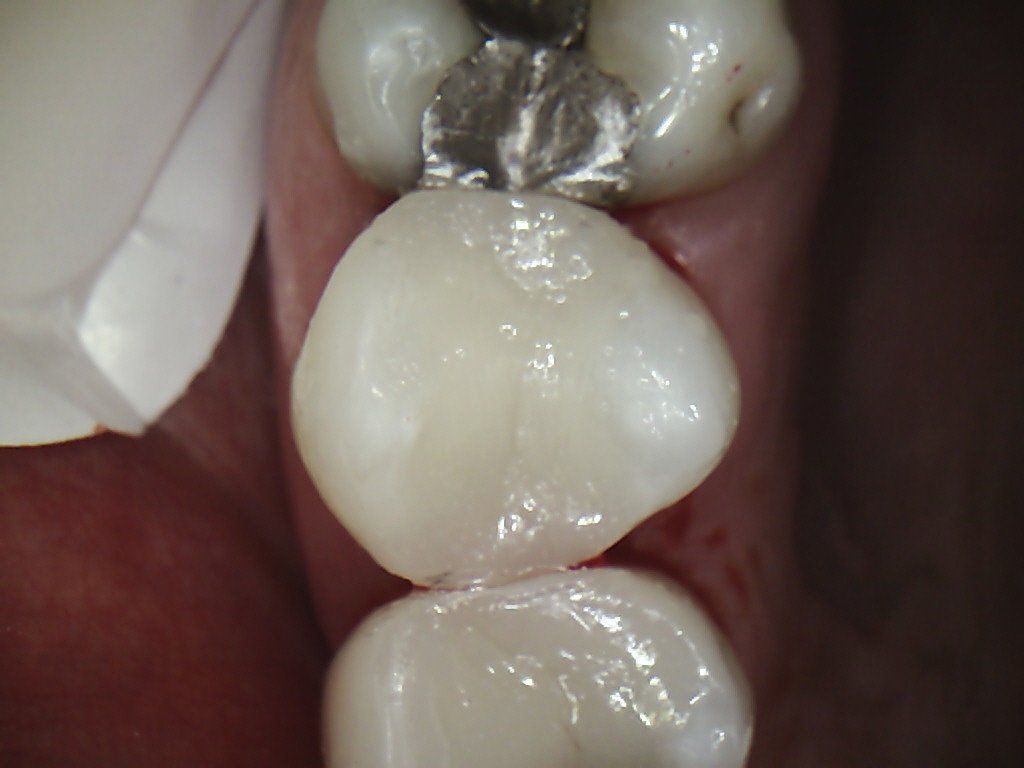
Replacing a broken molar cusp
1. This molar tooth had a metal amalgam filling that weakened the inside wall and lead to its fracture.
2. The remaining metal amalgam is removed, but no extra tooth is unnecessarily drilled away. The wall of the tooth is built up with composite filling material.
3. The inside wall is reinforced with a piece of non-stretch polyethylene fibre.
4. The fibre is set into the composite and more layers applied over the top. The tooth is shaped to look like it did before it was ever restored. Just like new!
Replacing a broken premolar wall
1. The whole outside wall of this premolat has broken away, a typical result from a tooth weakened by the historical placement of a metal amalgam filling.
2. The entire centre and side of the tooth is rebuilt with a fibre reinforced composite. A bonded filling is the only technique that will work in such a situation where there is very little tooth left to support the restoration.
Replacing a patched amalgam
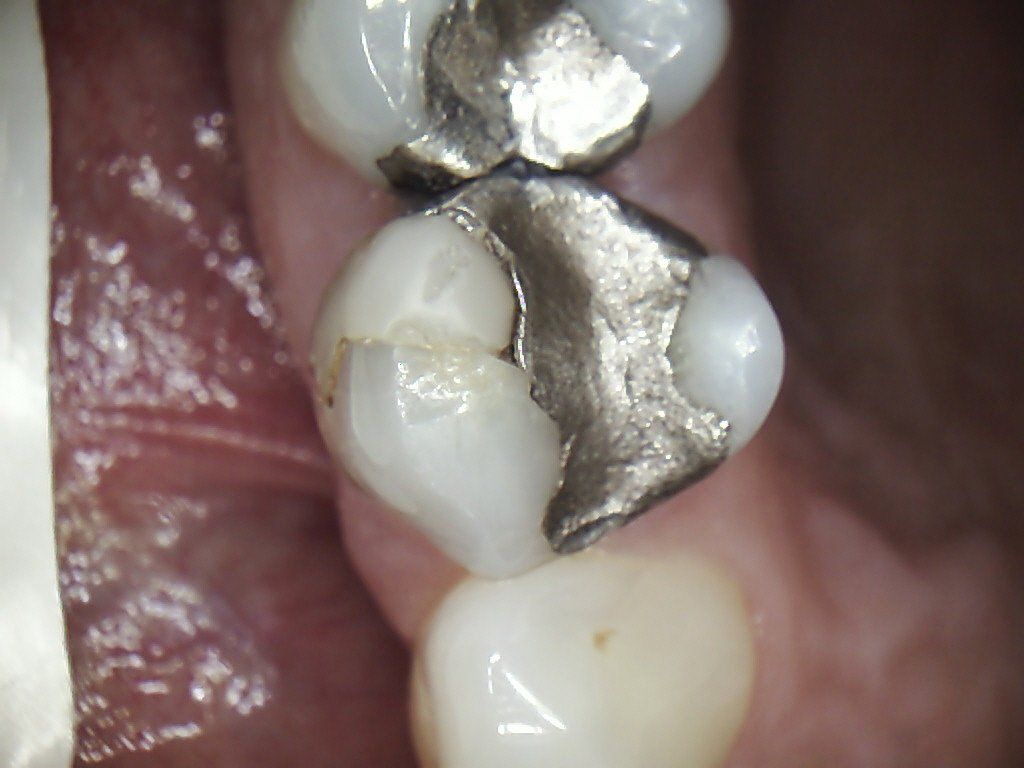
1. This amalgam has been patched with a piece of composite on the left side. Unfortunatley, it is not possible to bond well to metal amalgam and these repairs usually fail long-term.
2. The composite patch and old metal amalgam are removed and the remaining weak cusps protected with the new bonded fibre reinforced composite. Happy tooth, happy patient!
Repairing another fractured premolar
1. Another typical fracture situation. The filling is removed and the fracture is clearly seen as the white line in the tooth.
2. The tooth is restored with composite filling material and a piece of polyethylene fibre reinforcing.
3. The final layers of composite filling are placed over the fibre and the cusps shaping begins.
4. The finished fibre reinforced composite looks, feels and functions just like a natural tooth. Another tooth rescued!
