CROWNS & ONLAYS
Our dental technicians can craft crowns and onlays to rebuild and strengthen teeth with impressive aesthetics.
What are crowns and onlays?
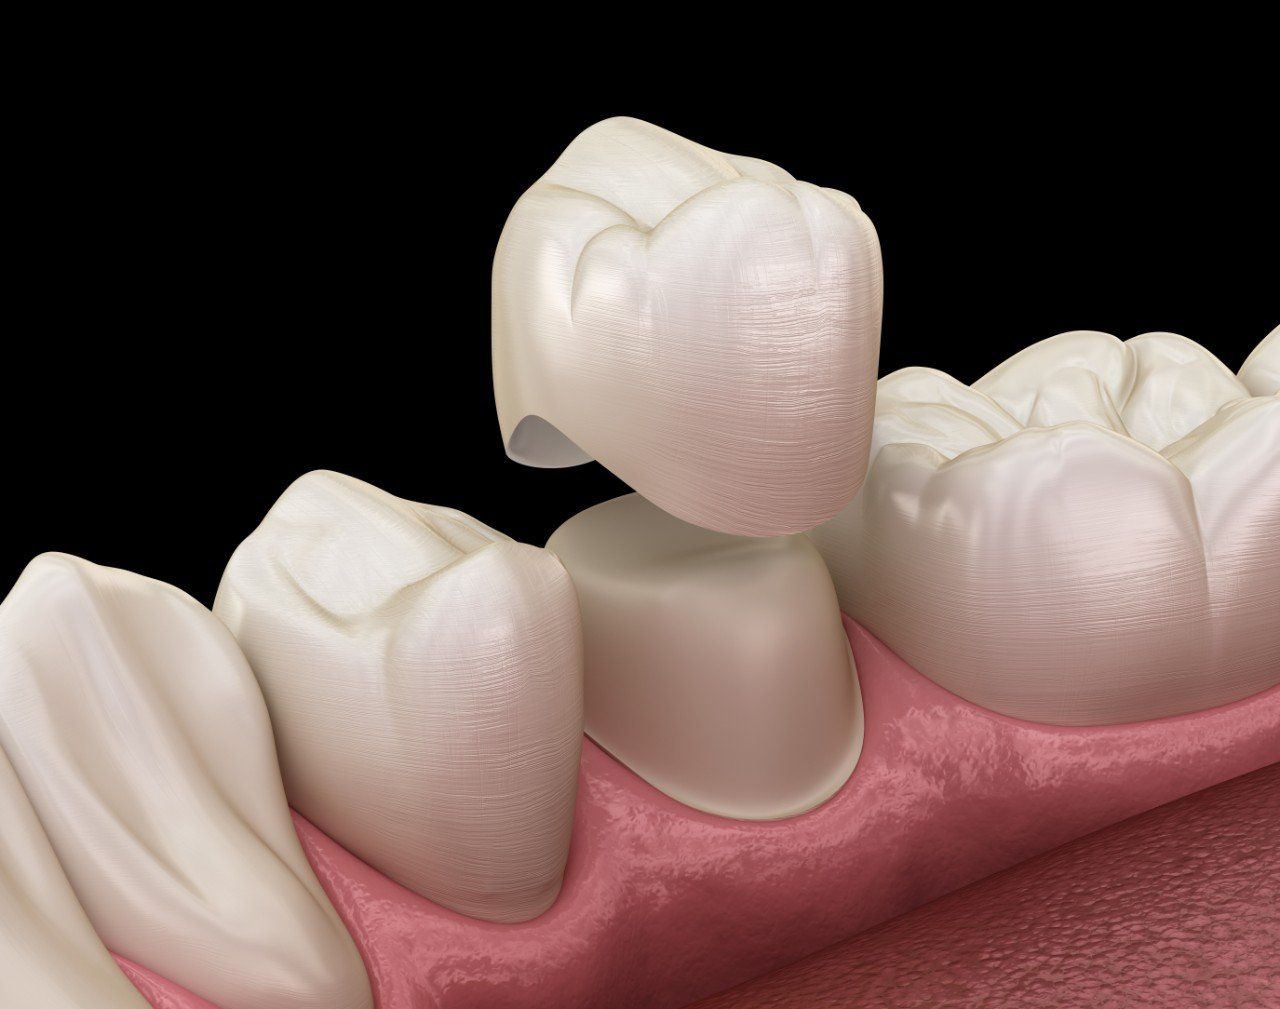
Crowns and onlays are tooth shaped restorations, that fit in or over existing teeth. They differ from fillings because they are made outside your mouth, usually in a laboratory. Crowns wrap right around a tooth. They are sometimes referred to as caps. Onlays partially wrap over or around teeth.
The materials used are either ceramic (porcelain), metal (precious metal or gold) or a combination of the two (metal inside for strength and porcelain outside for aesthetics). We have grouped both porcelain and gold crowns together as the applications and principles are the same, despite the different appearance.
Our crowns and onlays are made by specialist dental technicians. It is a complex process that takes time, skill and artistic talent.
Advantages
- Excellent aesthetics with all ceramic (porcelain) restorations
- Strong material
- Restorations strengthen weak or cracked teeth
- Gold restorations wear at the same rate as teeth
- Gold restorations can be made very thin so require less tooth removal
Disadvantages
- Need to cut away tooth to make space for the crown
- Colour and shape cannot be adjusted once bonded
- Fractures or breaks cannot be repaired as it is very difficult to bond to porcelain or metal
- Porcelain restorations can wear opposing teeth
- Gold restorations are gold coloured, a look some people like, but many do not.
When are crowns and onlays used?
To avoid cutting away healthy tooth, crowns and onlays are best suited for situations where the tooth tissue has already been lost. Crowns are ideal if you have a large filling, are missing a large piece of tooth, want to make major aesthetic changes or have an existing crown that has failed. They are also excellent for strengthening cracked teeth.
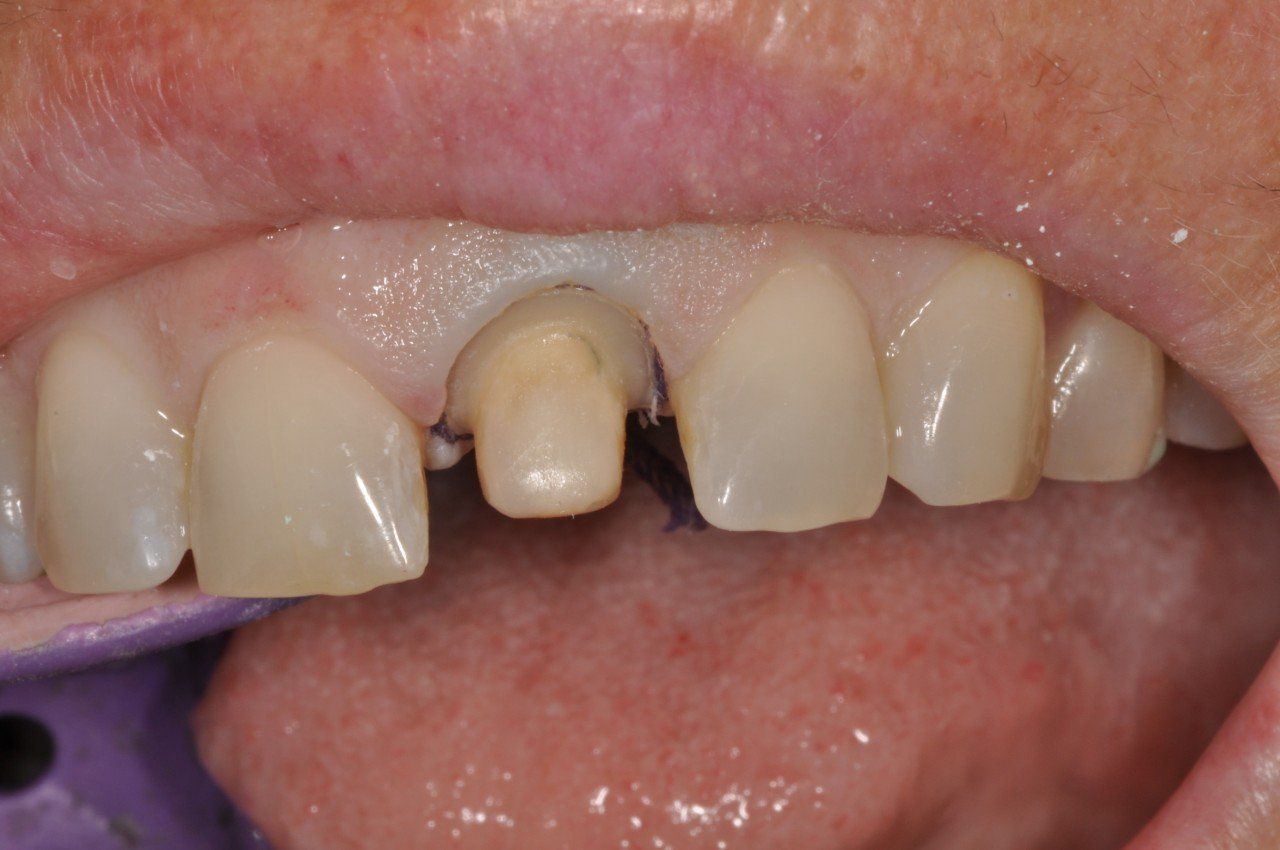
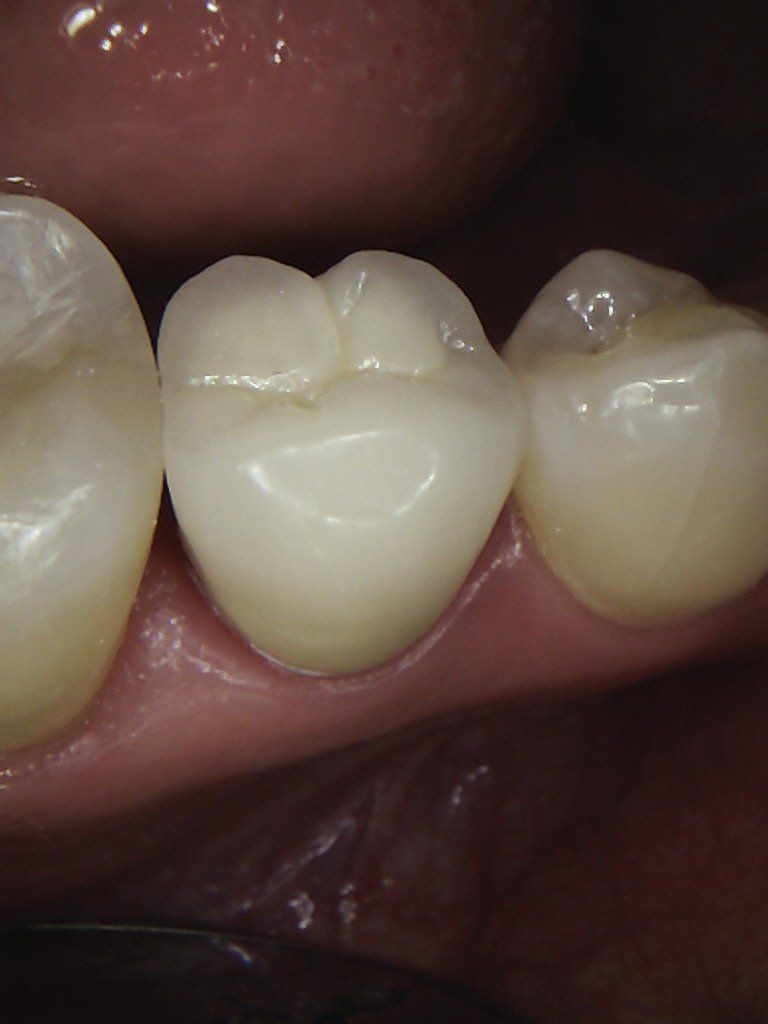
RIGHT: The picture on the right shows an all ceramic crown being placed on a prepared tooth.

The Procedure
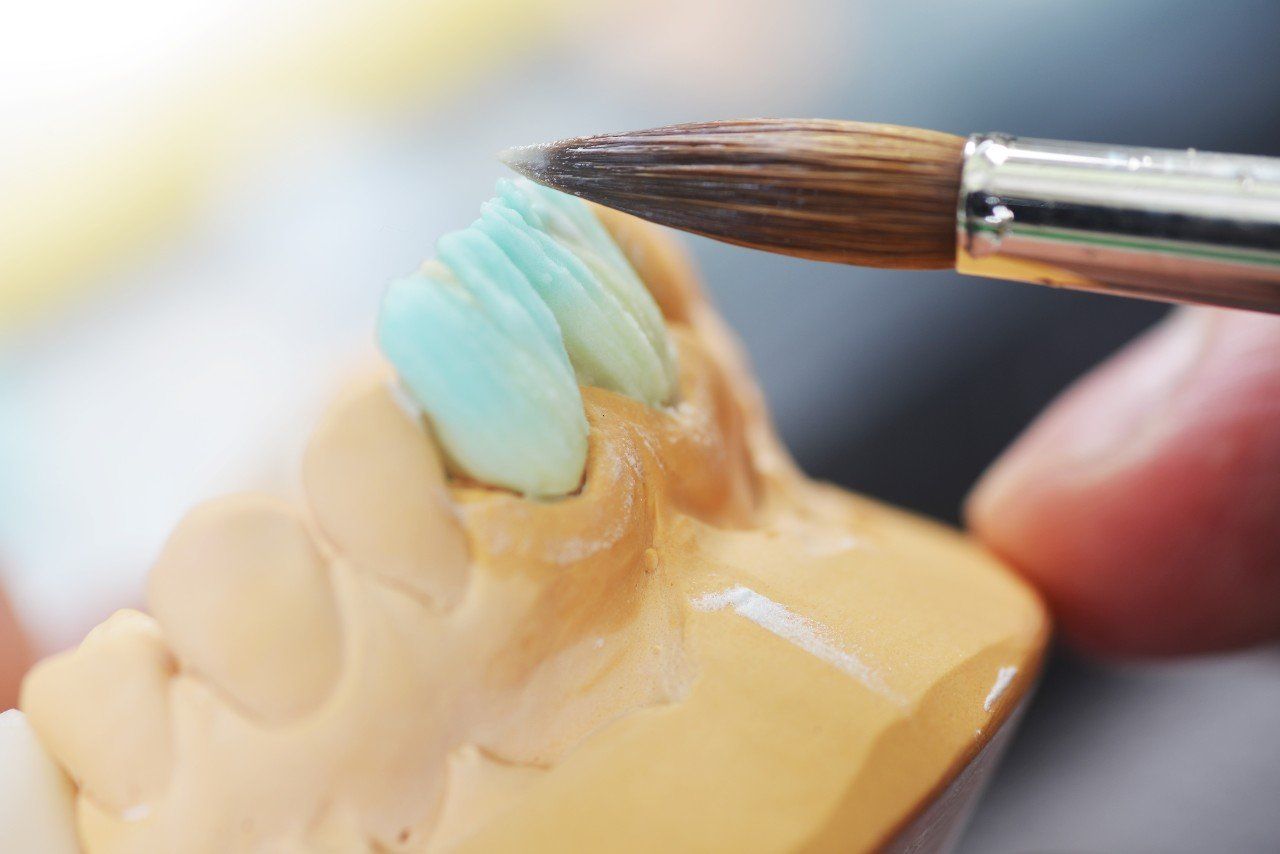
Crown and onlay work takes two appointments. At the first visit, the tooth is prepared and a mould (impression) taken. This is sent to the dental technician to make the restoration. A temporary crown is glued onto the tooth so you can smile and eat. For cosmetic cases, we will arrange for you to see the dental technician to work out the colour and characterisation of the new crown.
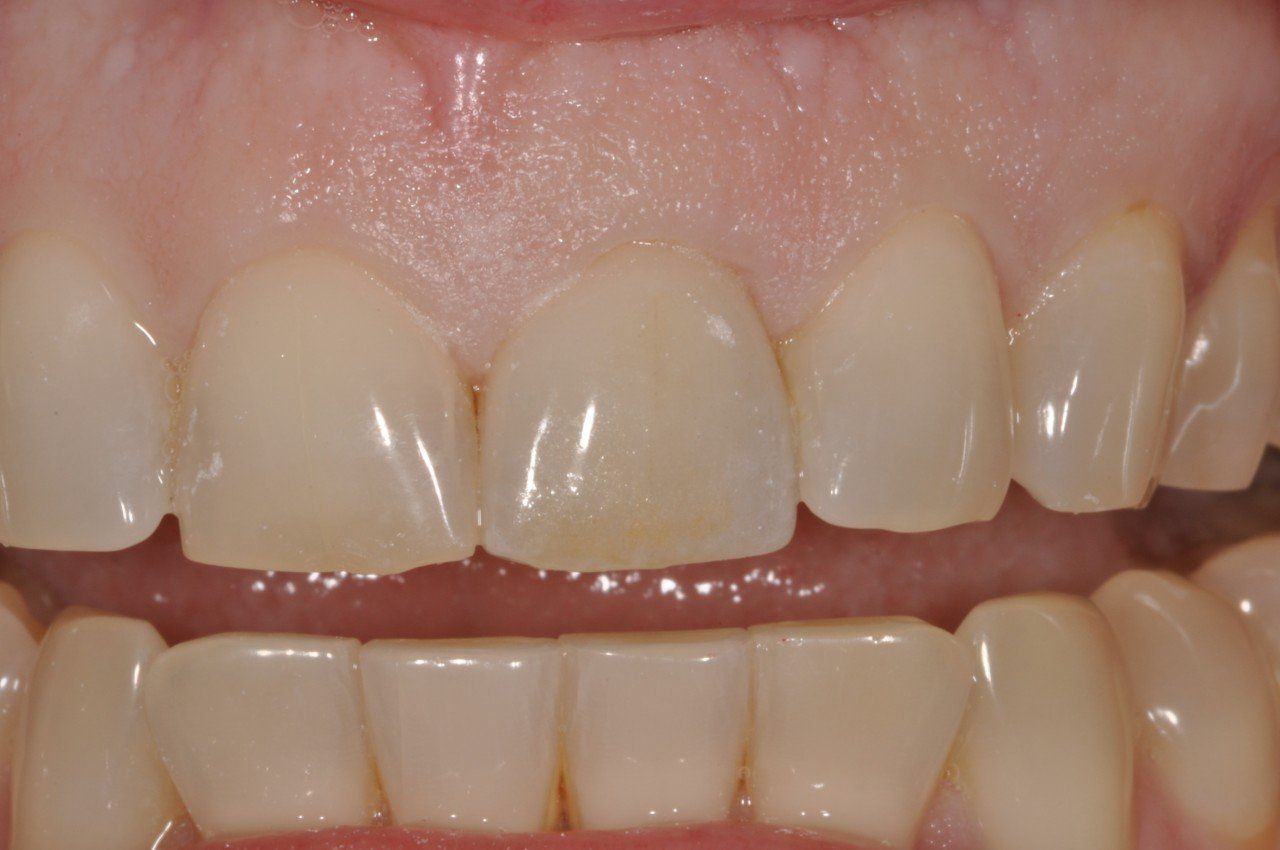
You return 2-3 weeks later and the temporary restoration is removed. The tooth is cleaned, and the new restoration checked for fit and appearance before it is permanently bonded into place.
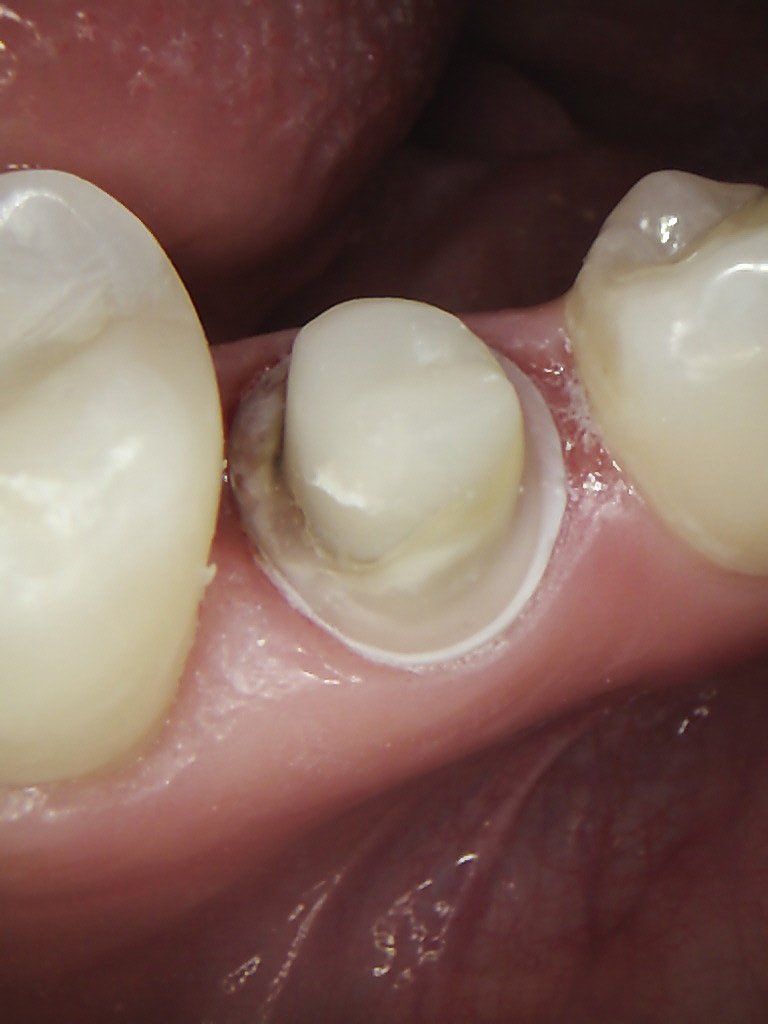
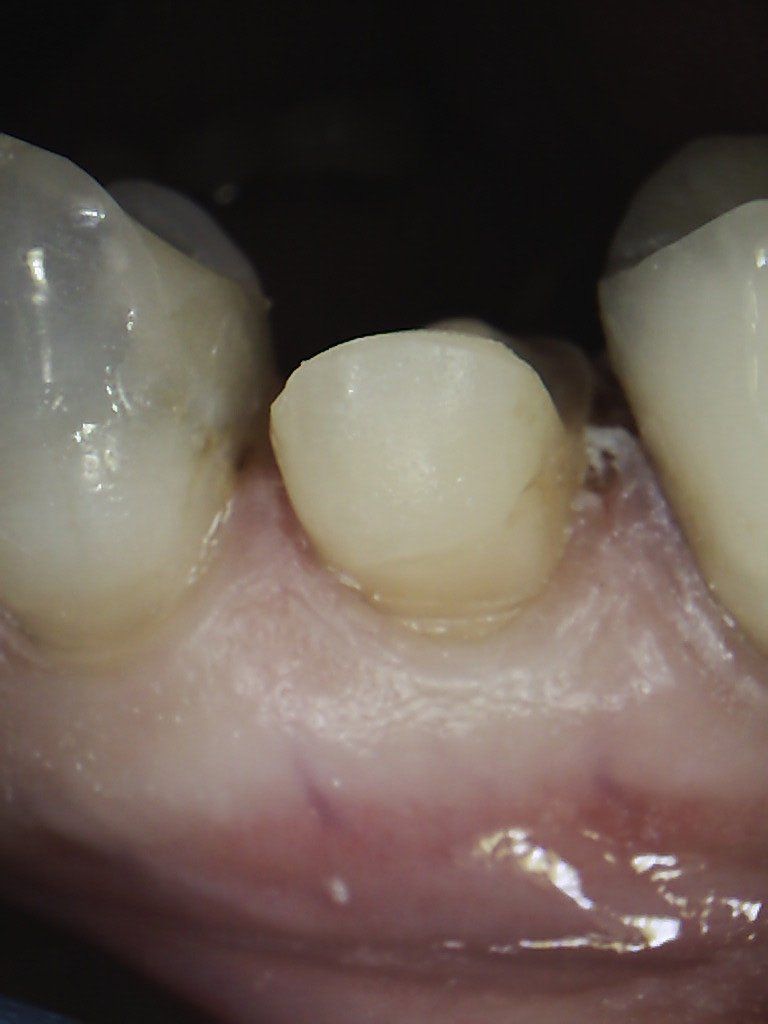
LEFT: The picture on the left shows a porcelain onlay.
Replacing an old front crown
1. This central incisor had an old, poor fitting crown that didn't match the colour or shape of the adjacent teeth.
2. Anaesthetic is placed and the old crown was cut off the tooth. The preparation was tidied up and smoothed.

3. A thin piece of cord is placed between the tooth and gum to hold the gum out of the way. A mould of the tooth is taken, and a temporary crown glued in place.
4. After visiting the technician to chose a colour, the crown is constructed, tried in and cemented into place. A definite improvement!
Replacing a premolar crown
1. This premolar tooth had a large filling that had failed. This shows the prepared tooth with the centre or core built up with composite filling material.
2. The temporary crown is placed and cemented with temporary glue.

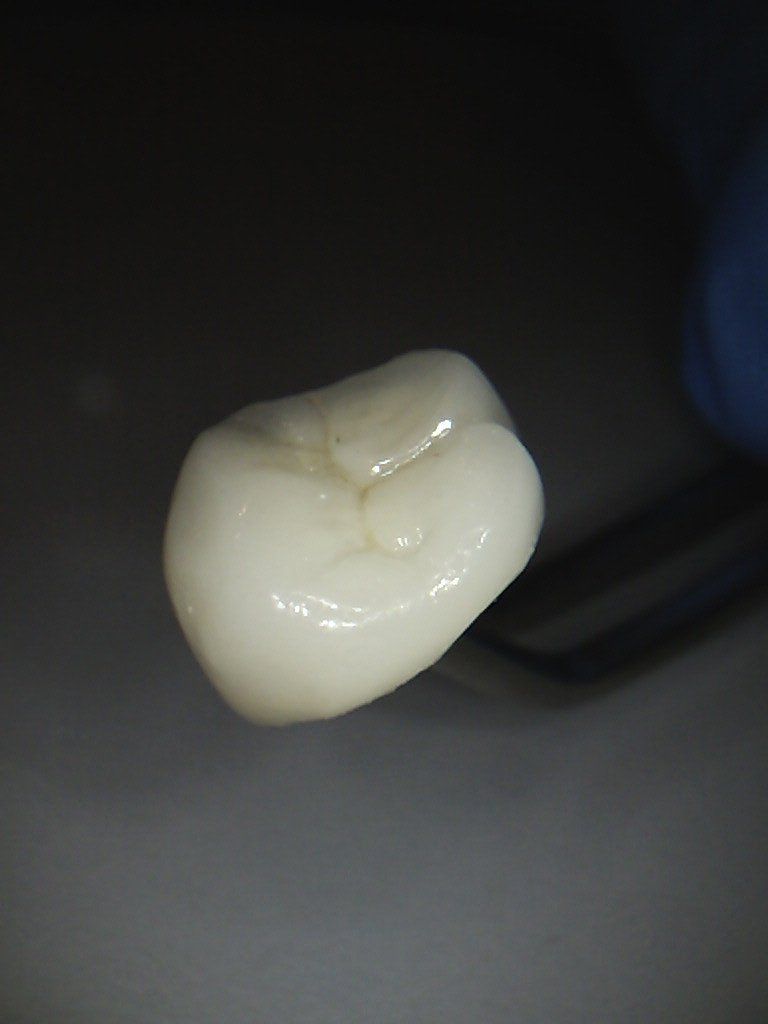
3. The all ceramic porcelain crown we get back from the dental technician. A piece of art!
4. The crown is fitted, adjusted and bonded in place. It looks great and is super strong.
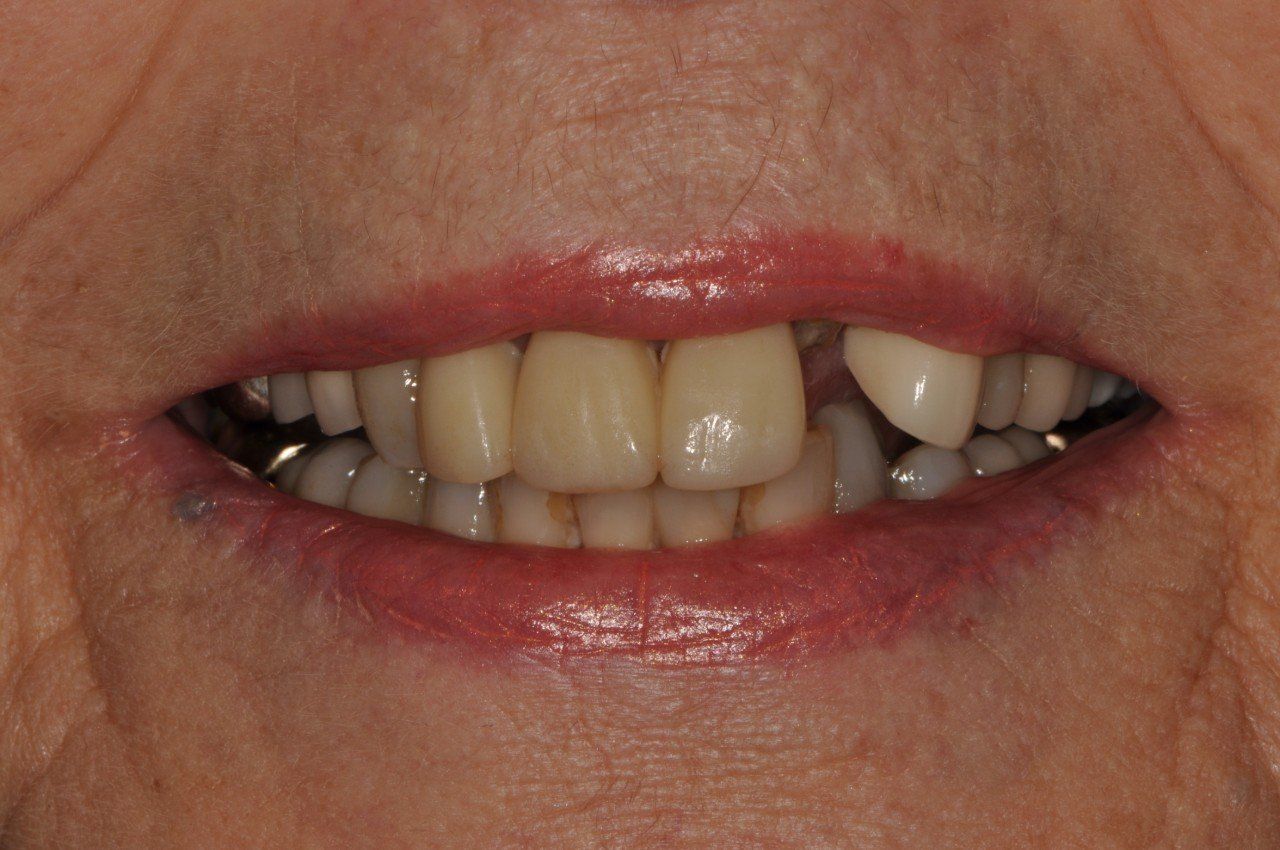
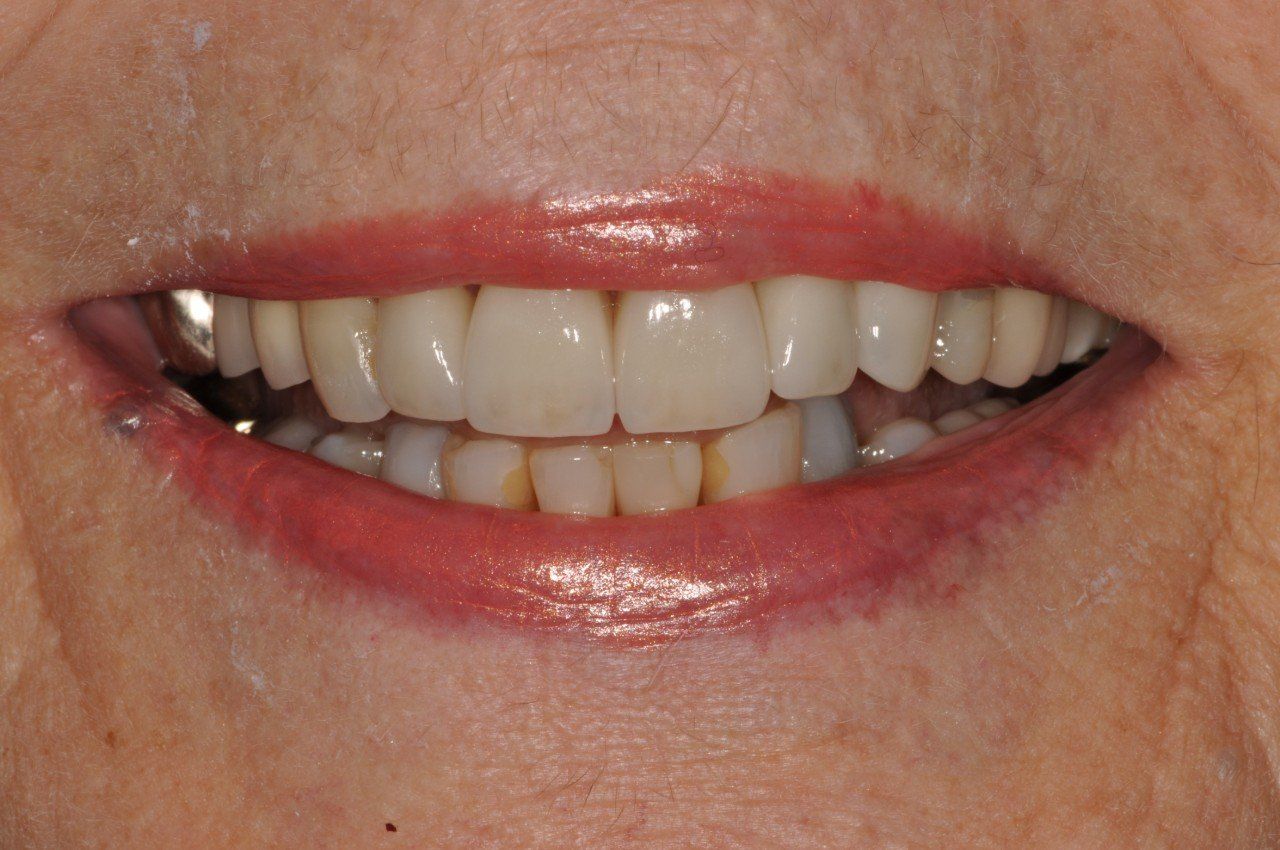
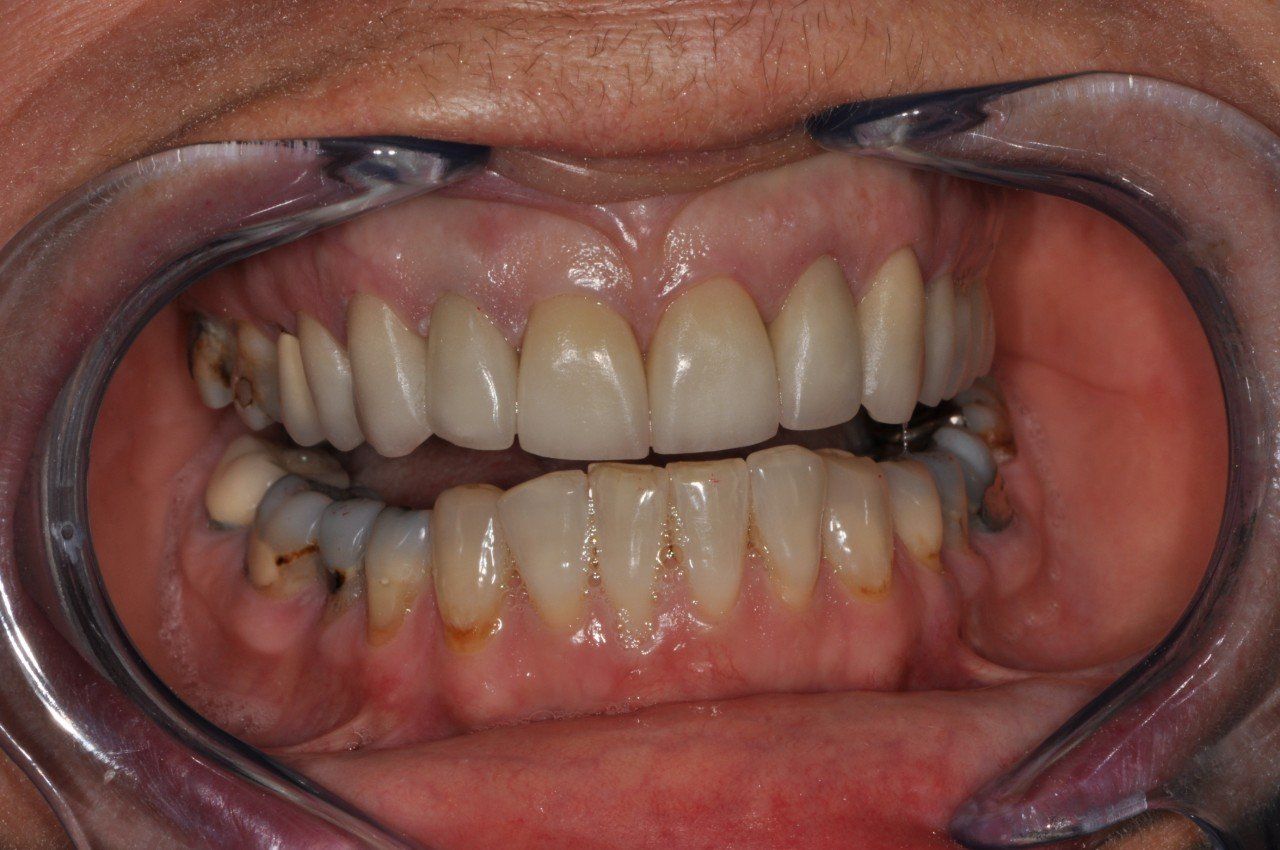
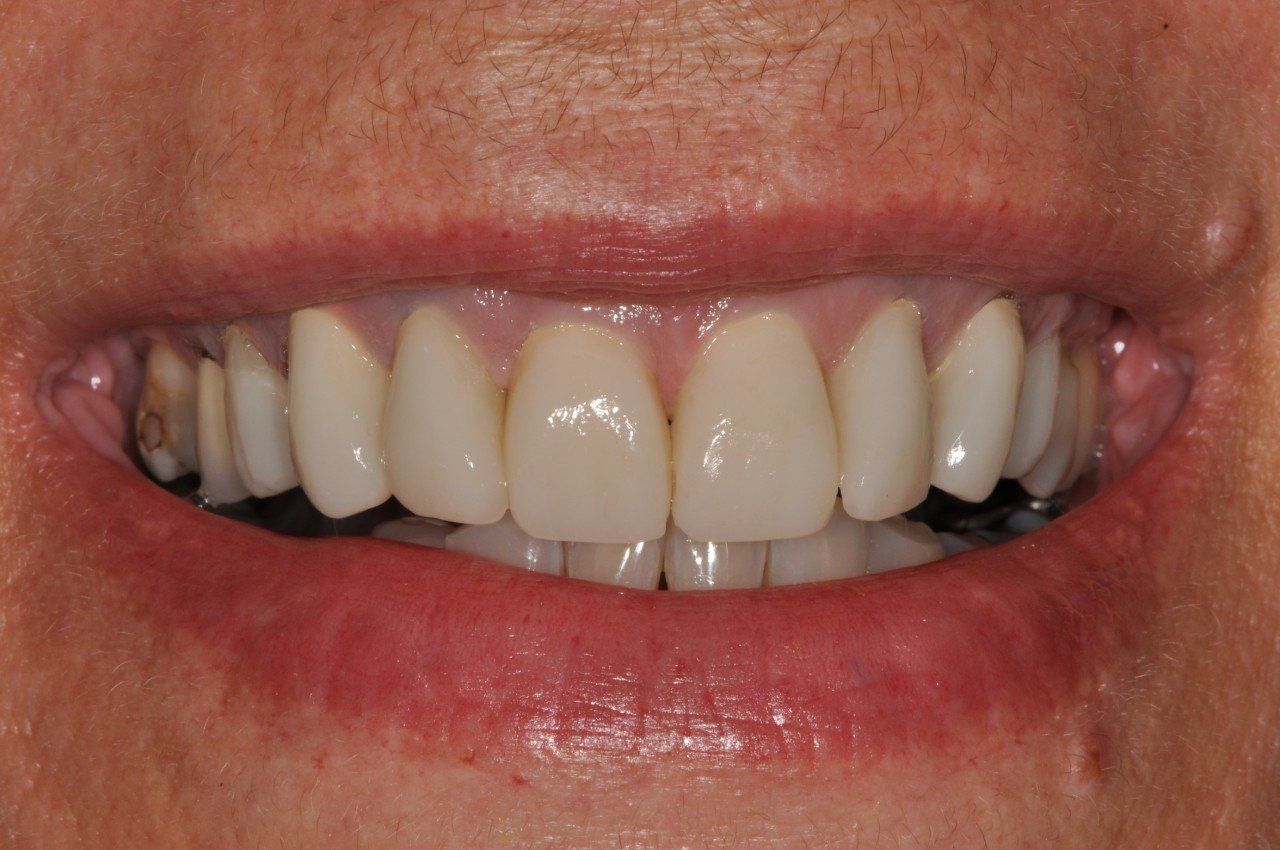
Replacing six front crowns
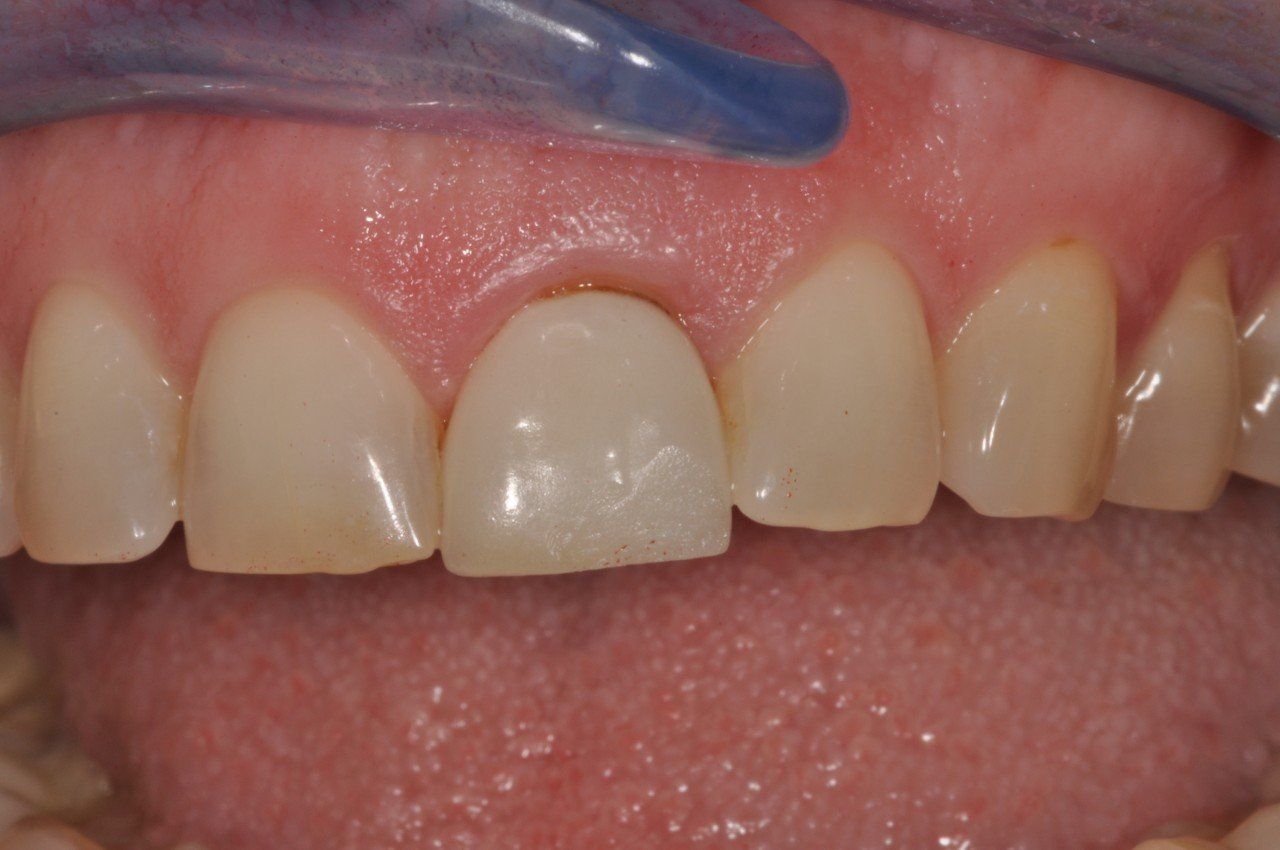
BEFORE: This poor patient fractured one of her old crowns off. She had always been unhappy with the shape and colour of her old crowns, so decided to replace the front six.
AFTER: To get the best aesthetics, it is always preferable to replace multiple teeth in one treatment. This allows the technician to match the shades and create the ideal smile shape. A great success!
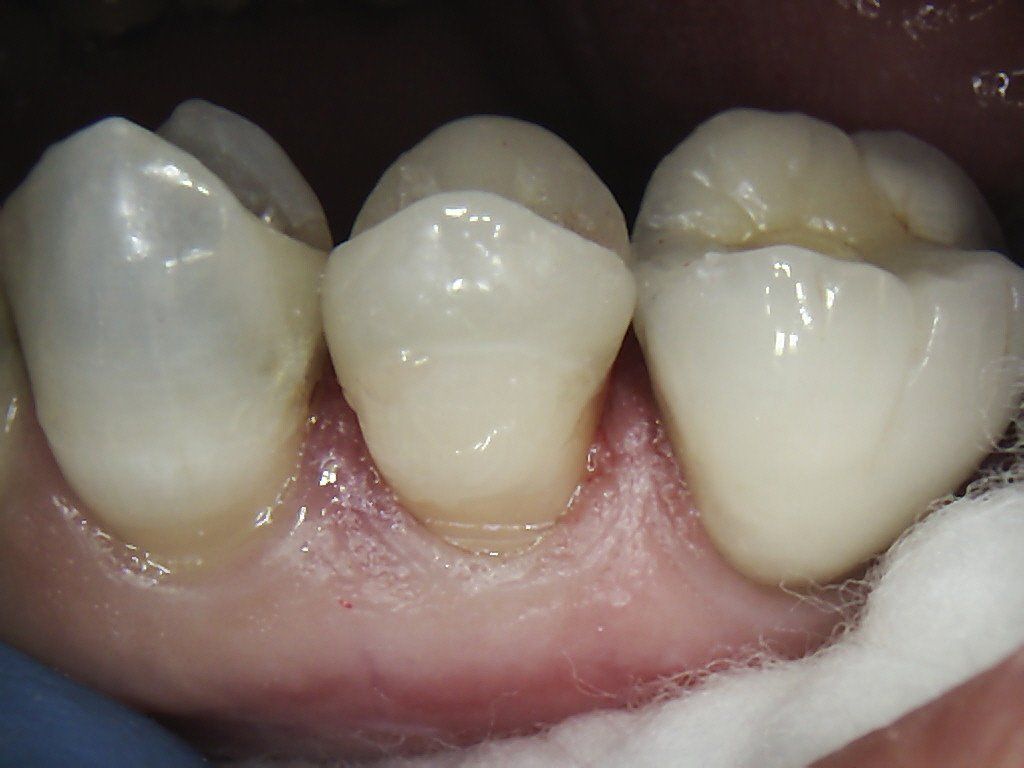
Restoring a premolar with a ceramic onlay
1. This premolar tooth had an old metal filling caused a fracture of the inside wall of the tooth. The tooth was prepared keeping as much of the outside wall as possible.

2. A view of the outside wall. You can see a faint fracture line at the base of the wall. The aim was to extend the only over this wall and protect it from fracture.
3. The all ceramic onlay on the study model. The onlay looks grey because it is translucent. This allows it to take up the colour of the tooth below and look more natural.

4. The onlay bonded in place and looking like nature intended.
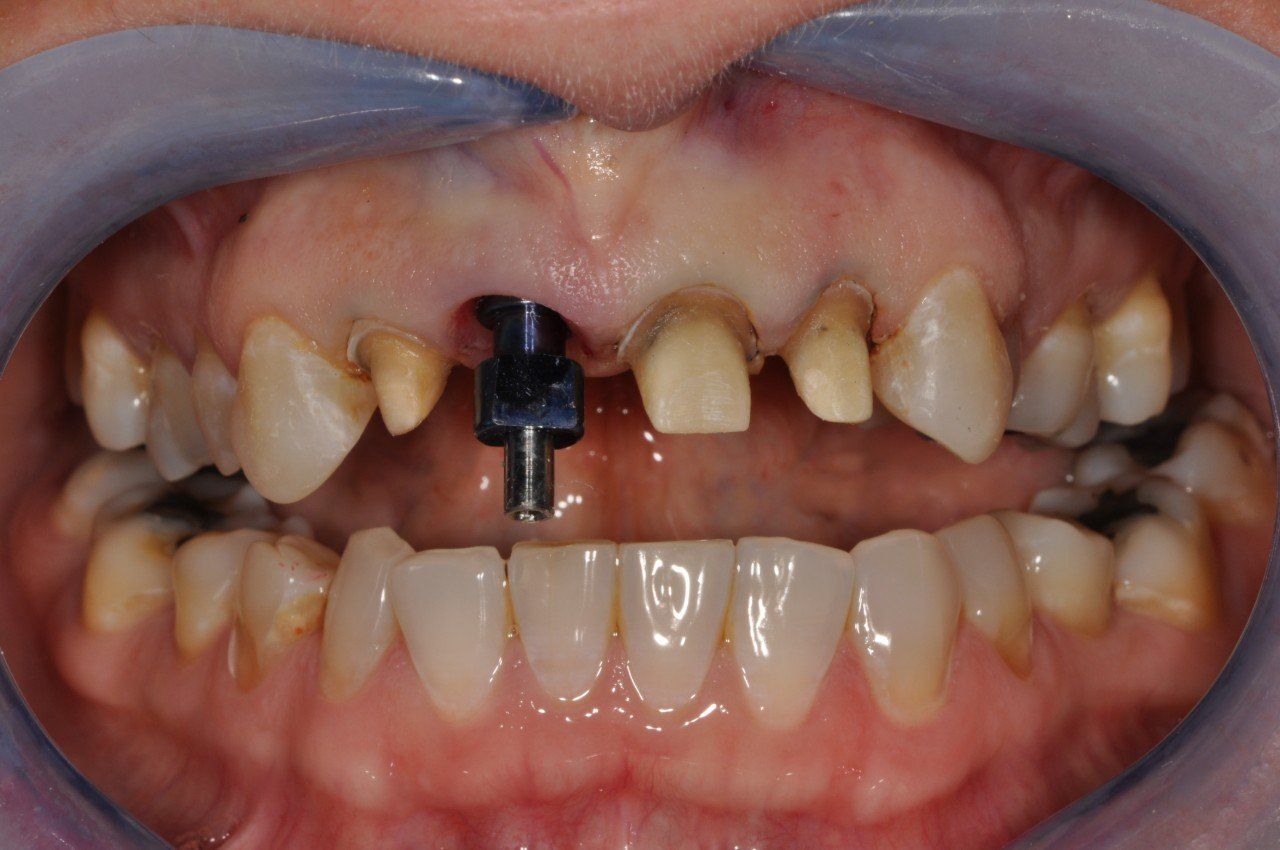
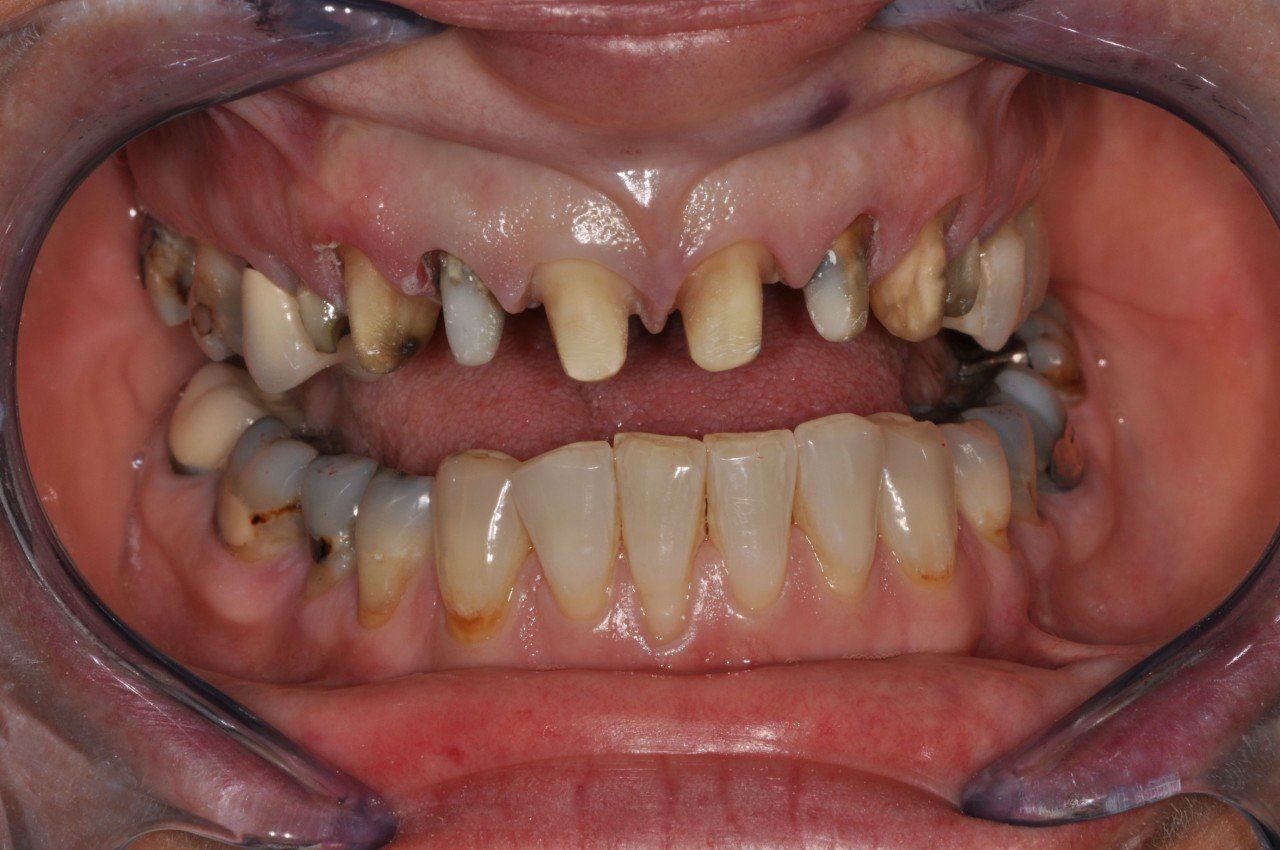
Combining crown and implant treatment to replace four front crowns
1. This poor patient lost her upper right incisor. Fortunately we could replace it with an implant supported crown. To get the best aesthetics, she decided to replace the four front crowns in one treatment.

2. The crowns were removed and an impression of the teeth and the implant taken at the same time. The blue metal piece is a coping we use to get an accurate copy of the implant.
3. Matteo Moro, our talented Wellington technician, made four beautiful new front crowns.
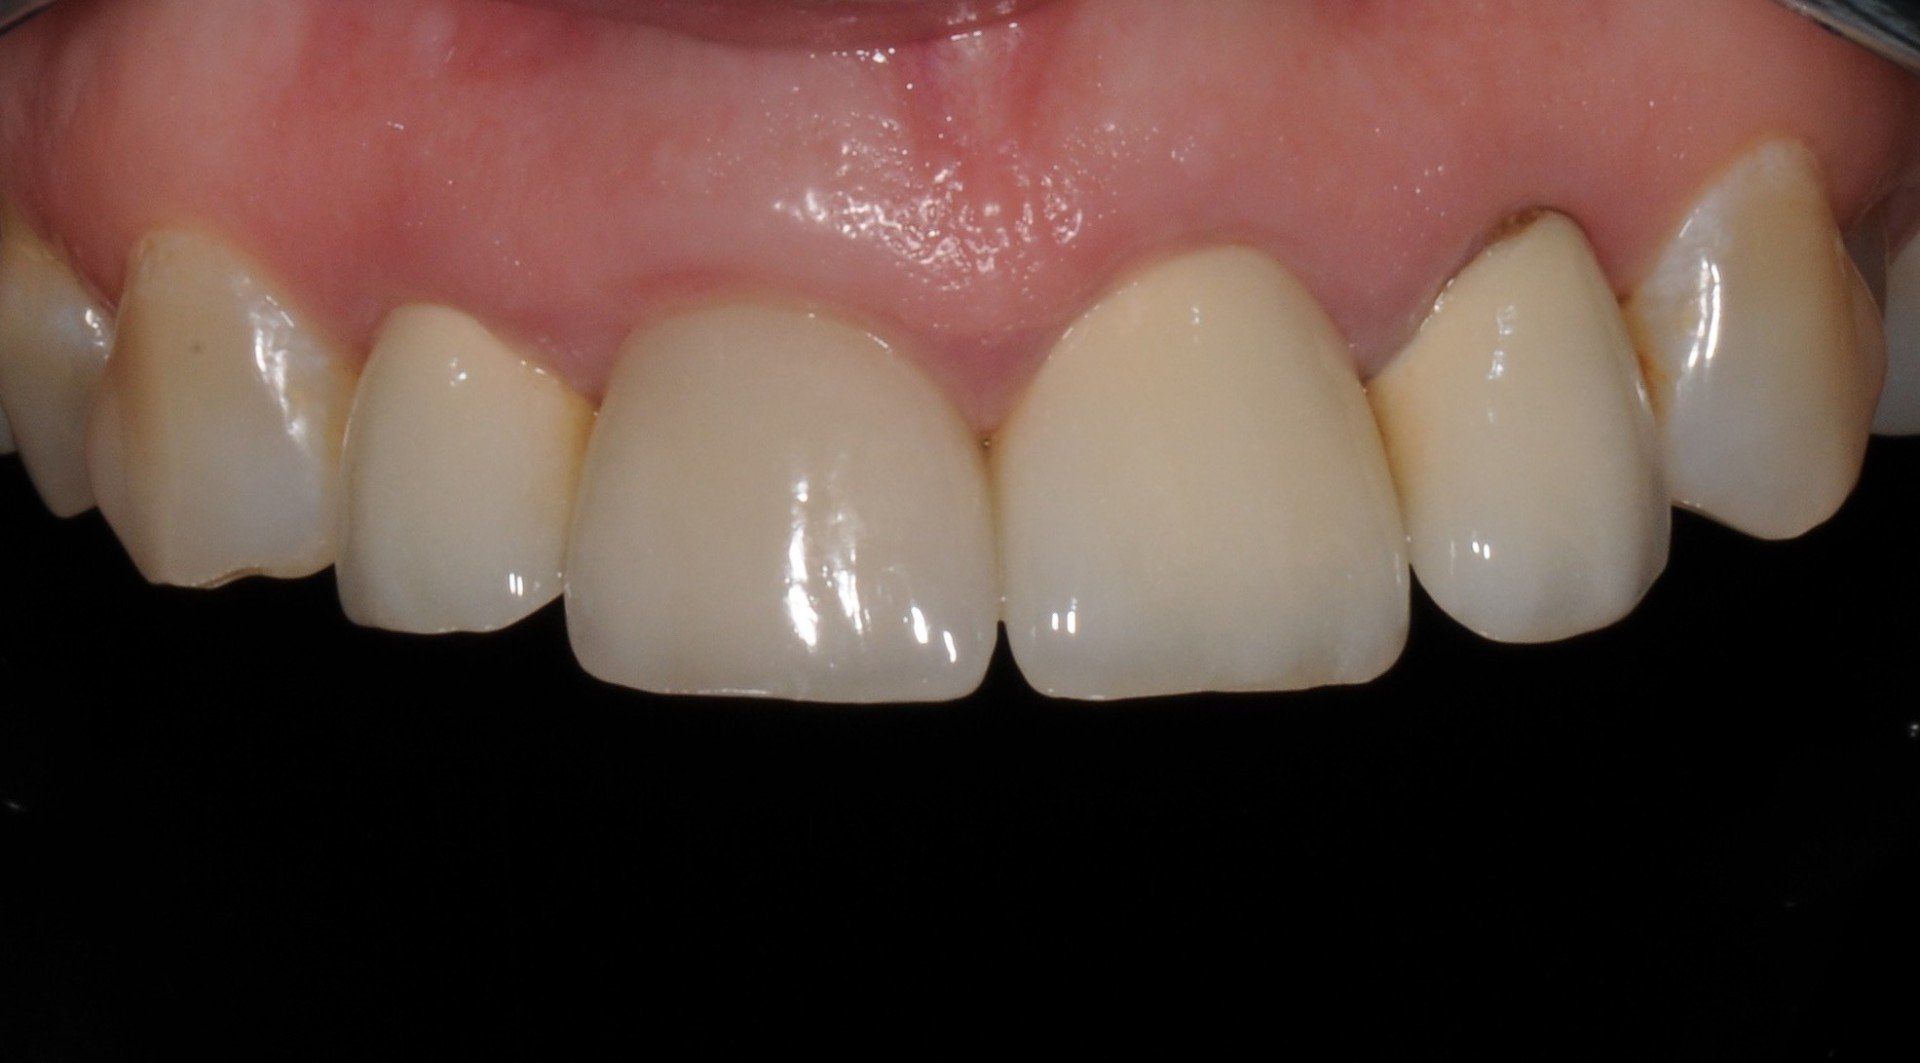
4. The crowns are bonded onto the natural teeth and screwed onto the implant. The missing tooth is replaced, the old crowns improved and the smile looks fantastic.

Replacing unnatural looking crowns
1. These crowns were made with old technology and look too yellow, opaque and dark at the gum margin. The patient was tired of not liking her smile.

2. The old crowns were removed, the teeth re-prepared and an impression taken.
3. Temporary crowns were made from composite resin. We were able to adjust these until we had a shape and shade the patient was happy with.
2. Our technician replicated the final temporaries in porcelain, and we cemented the new crowns in place. Everyone was happy!
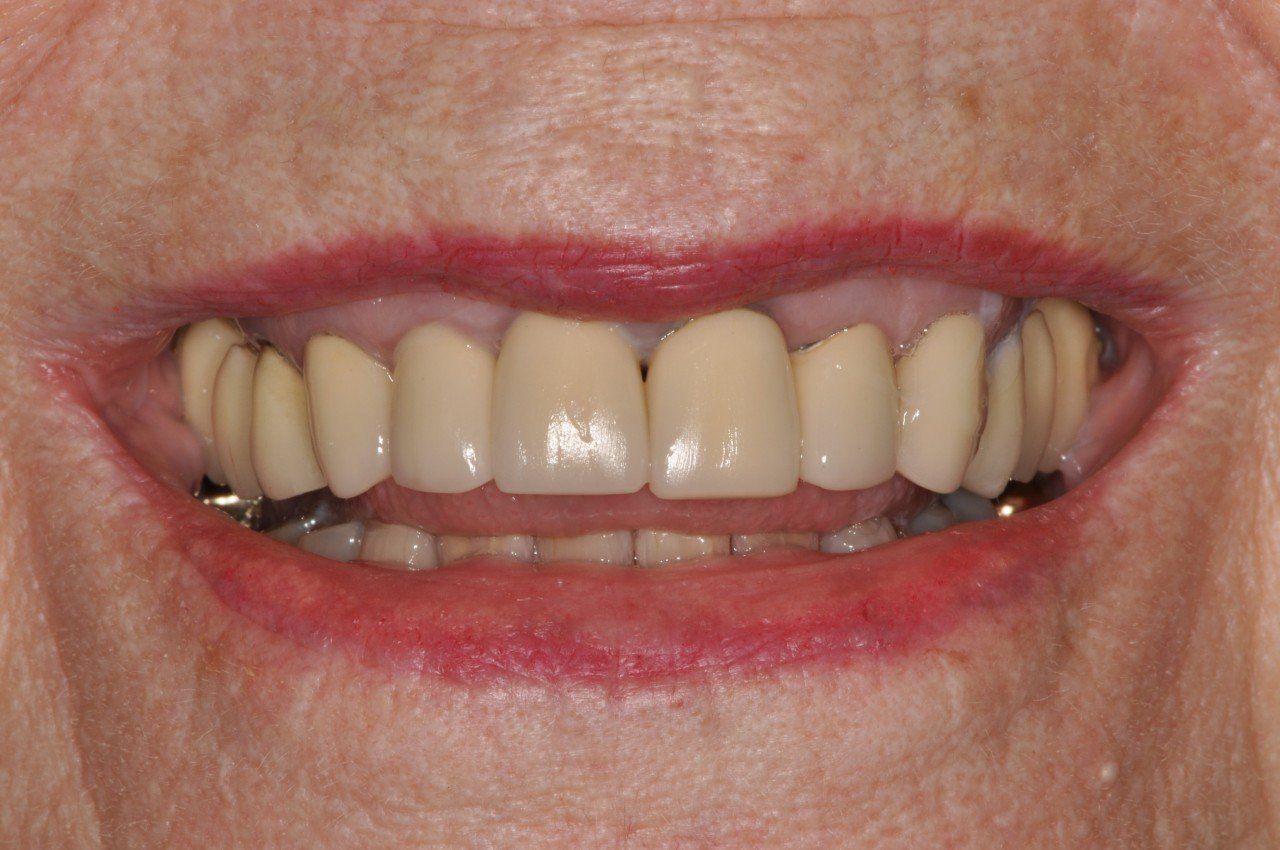
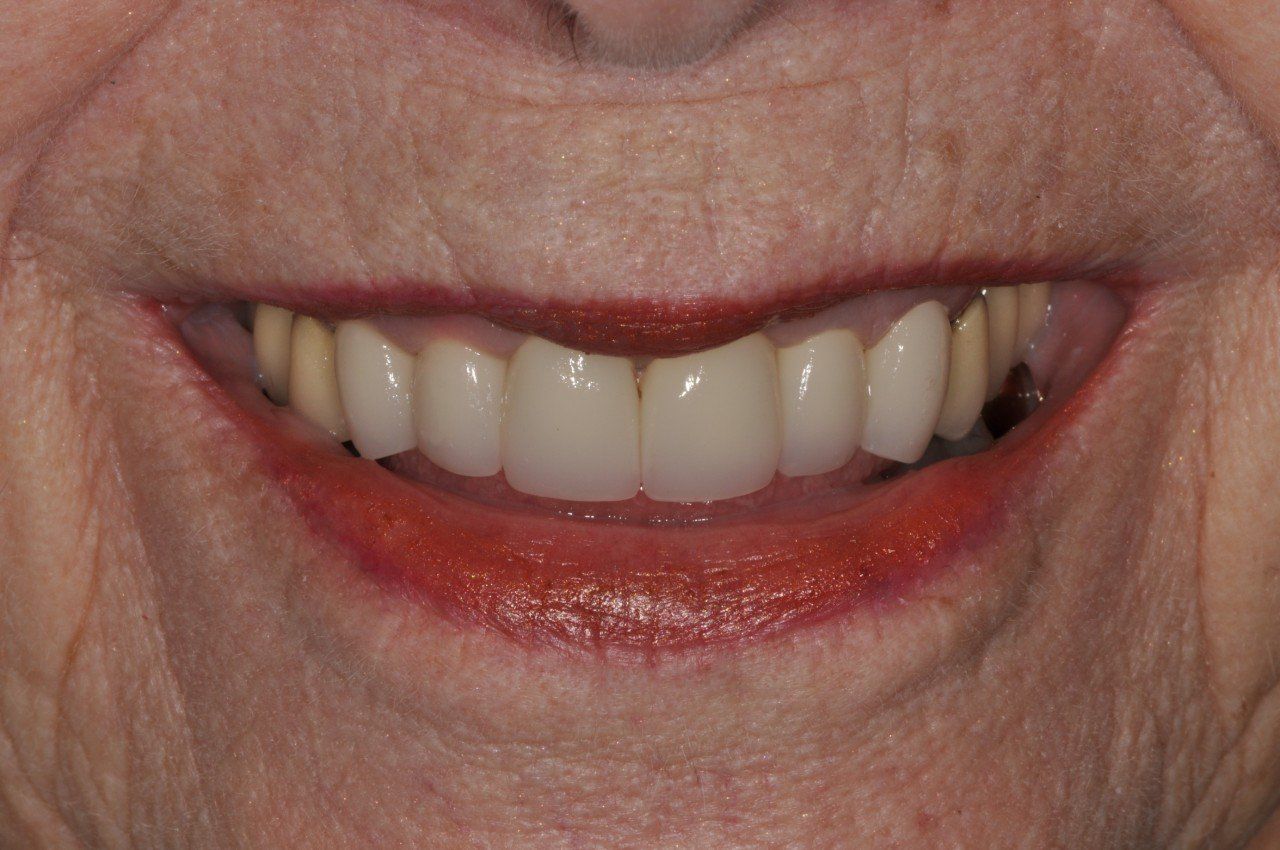
Replacing six old front crowns
BEFORE: This patient was unhappy with the opaque, yellow appearance of her front teeth.
AFTER: Replacing the six front teeth together meant we could improve the colour, translucency and also create a better smile line that followed the patient's lower lip. Much more natural.
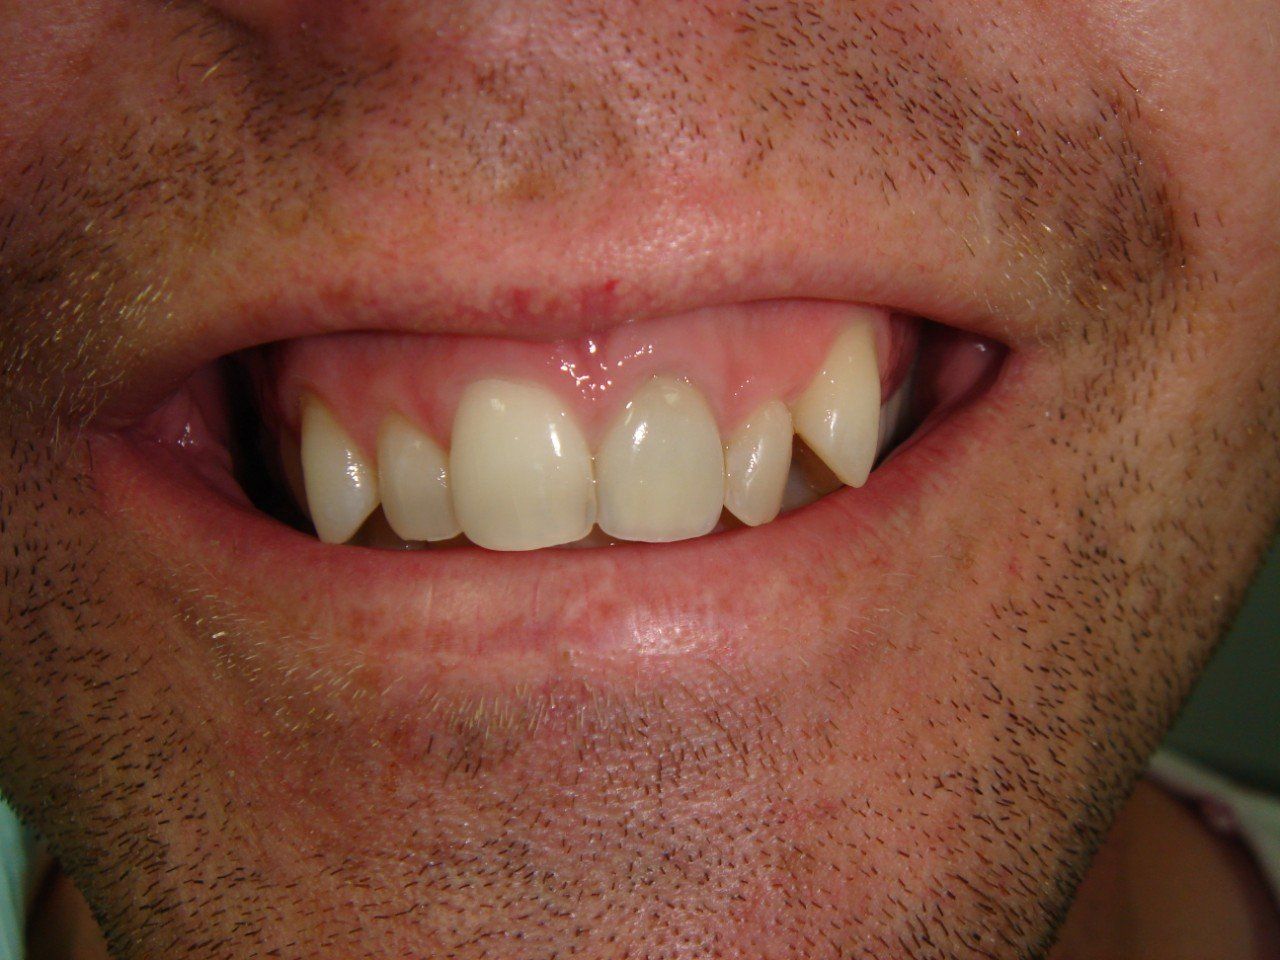
The biggest challenge - replacing an old front crown with a dark root underneath
BEFORE: This patient knocked his tooth as a kid, the tooth died and the root went very dark. It was a difficult case to try and reshape the tooth and mask the underlying discolouration.
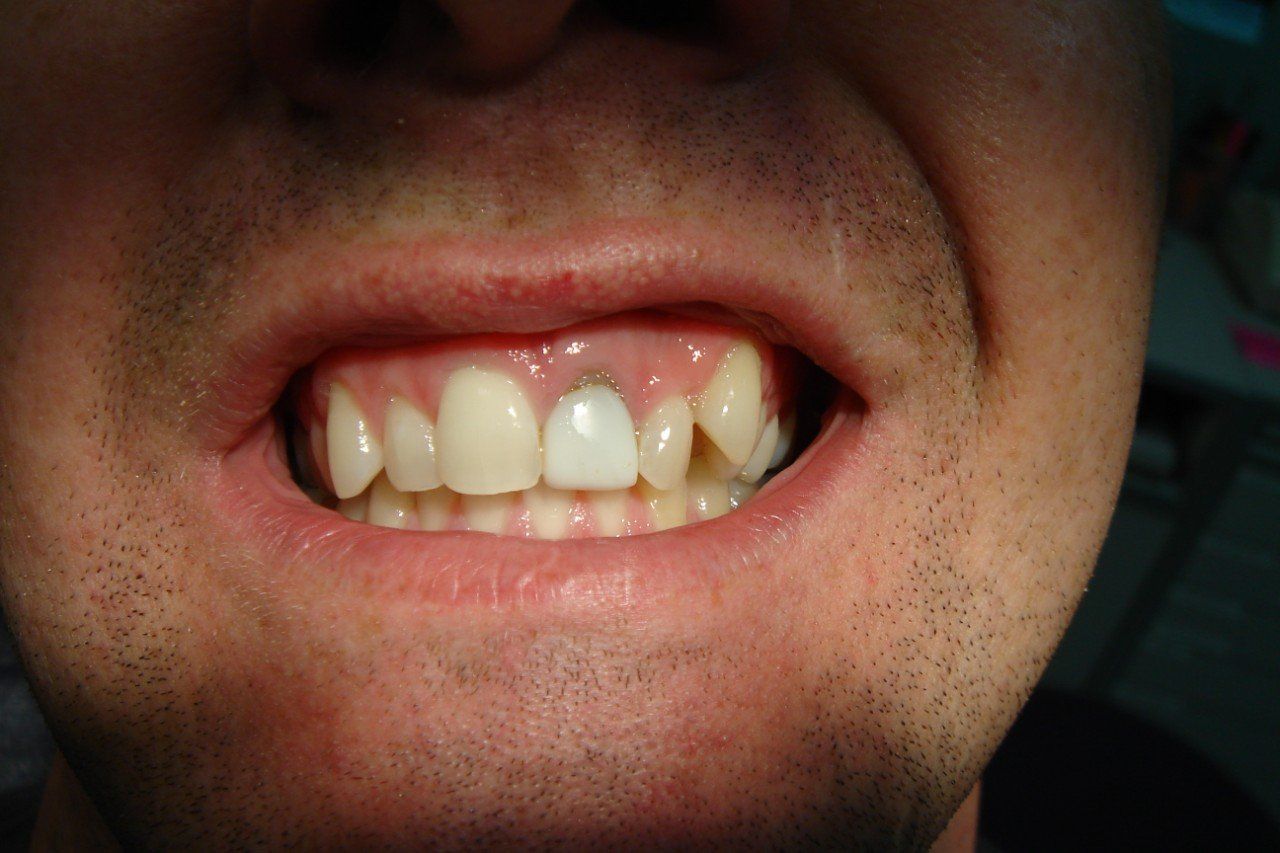
AFTER: The finished crown was a huge improvement. Some of the darkness can still be seen in the crown though. This just shows how hard it is to create an artificial tooth that mimics nature.